- Savage Blog
- Backcountry Meat Care: Preserving Your Harvest
Backcountry Meat Care: Preserving Your Harvest
Okay, you got one! Now what!? The topic of backcountry meat care and packing out seems to be steeped in equal parts fact and lore. Let’s try to straighten some of that out here today. Through the years I have learned a tremendous amount about it from personal experience, other experienced hunters, homesteaders, ranchers, Native Americans and meat processors. This combined knowledge is what I’ll try to lay out for you today so that your hard-earned animal makes its way to your table in the safest and most flavorful way possible.
This last addition to my backcountry hunt series exists within the same hunt parameters as my last couple of blogs. If you have followed along, you may remember a few of them but, if you are new to the series, here they are again.
- The hunt takes you deep enough into a tract of land that you cannot reasonably physically make it back to a vehicle or permanent shelter at the end of each day. This distance is different for everyone and that’s okay.
- The hunt takes place on foot without the aid of pack animals or motorized transportation.
- If successful the meat needs to be broken down and packed out on foot.
- The hunt is unguided.
So, let’s get into it. There are three steps to this process and at times two. Three if you plan on staying afield after your harvest for some amount of time or two if success means immediate extraction post-harvest.
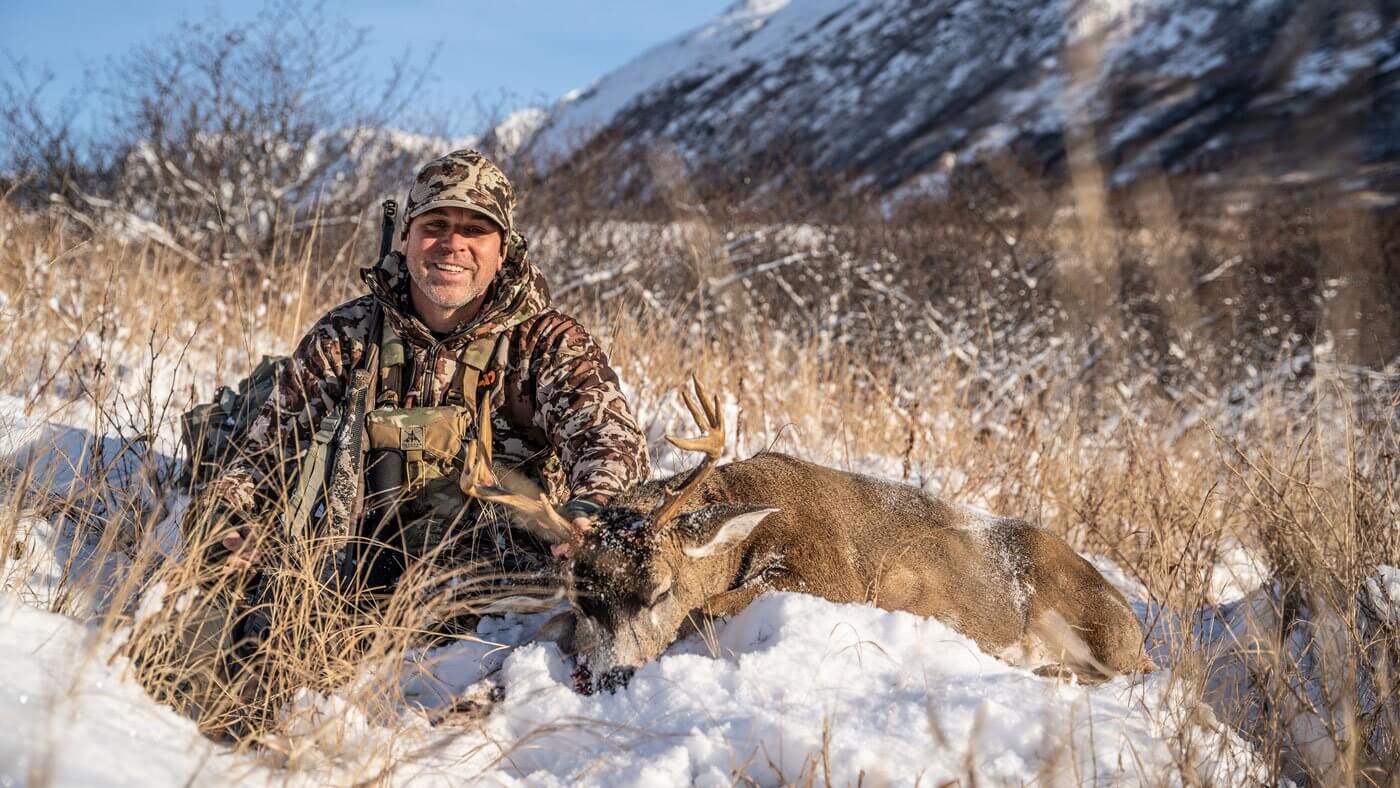
 Success! Now the real work with backcountry meat care begins.
Step 1. The break down
When you recover your animal, this signifies the start of a clock. The time on this clock varies greatly depending on heat, humidity, if there are still bugs up and moving, ext... I have concluded that no matter the situation, I always use my best practices process to always give myself the best possible outcome in meat quality and keeping my body capable of continuing the hunt.
After hugs, high fives and pictures and sometimes before, cut the animal's throat and drain blood for a few minutes. The old timers were right about this one, just do it. If you are caping the animal for a mount, you won’t do this but, if you feel you have the option, the meat will taste better on your table by doing it.
After this, your main #1 goal for everything that follows is KEEPING THE MEAT CLEAN!! Talk to any meat processor in the world and ask what issue they fight the most and their answer will be dirty meat. This issue is where meat loss starts much of the time. As a hard fast rule carry a tarp or good-sized plastic sheet along with you so that as you process quarters, they never touch the ground while you are skinning and deboning.
Once you have completed each quarter place them directly into a high-quality reusable game bag making sure the opening is sealed enough so that if the flies are still out, they cannot get into the bag. Hang or lay with sticks or brush underneath the bag in the shade if possible and move onto the next quarter.
Debone your quarters; if you haven’t done it before, you will be terrible at it the first time but, through the years you will get better. Watch a bunch of videos beforehand or go with someone that can teach you. The reason for this, aside from greatly reducing your pack out weight, is bone rot. Bones are much denser than meat and so hold heat for a significantly longer period of time. This leads to an issue where the meat rots from the inside out, even in cases where you think it’s cool enough to not have an issue; it can be, just pull them. Then, there is no worry. Also, your body will thank you when you are packing it all out.
 Clean quarters are an important piece of meat care in any hunt.
Step 2. In camp meat care
Once you get the meat packed back to camp, hang each game bag on the north side of a big pine tree if possible. Your priority here is to keep them in the shade. So, whatever the terrain and hunt environment gives you in this regard, take it with shade as the priority. If there simply isn’t any, figure out a way to rig up a tarp to keep the meat out of direct sunlight.
If there is absolutely nothing to hang them from figure out a way to prop them up off the ground using rocks, sticks, or brush so that air flow can make its way around as much of the bag as possible. Then rotate them daily to expose different sides to maximum airflow.
Final tip here is, each day go pull the game bag fabric so that it separates from the meat. This vastly limits the ability for bacteria to make its way through the fluid on the outside of the bag and helps the meat create the protective crust it needs to stay viable for longer periods of time. If you follow these steps so far, your meat can stay good for 5-6 days, even in consistently above freezing temperatures.
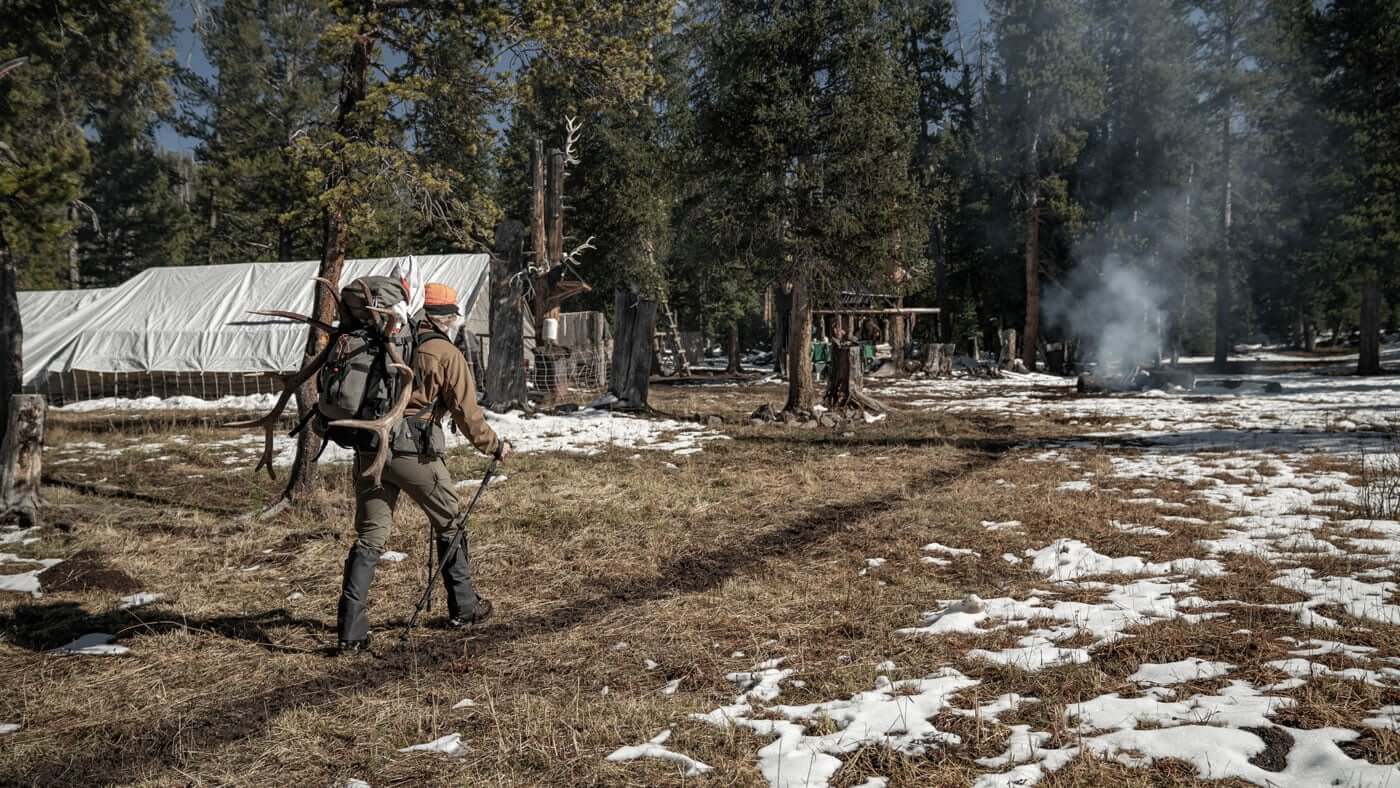 Having the right setup at camp can really help with your backcountry meat care.
Step 3. The pack out
Now comes everybody’s favorite part! Packing your meat and gear back to the vehicle... Your body is typically already gassed, your mind is shelled and you could use a few nights sleep in a real bed. It’s in this state that we enter the most physically challenging aspect of most backcountry hunting adventures. Getting double or more of the weight you hauled in, to the extraction point.
I have gone about this strategically about every way imaginable and after all the years of energy expenditure, swearing and questioning my life decisions my absolute most preferred method is shuttling.
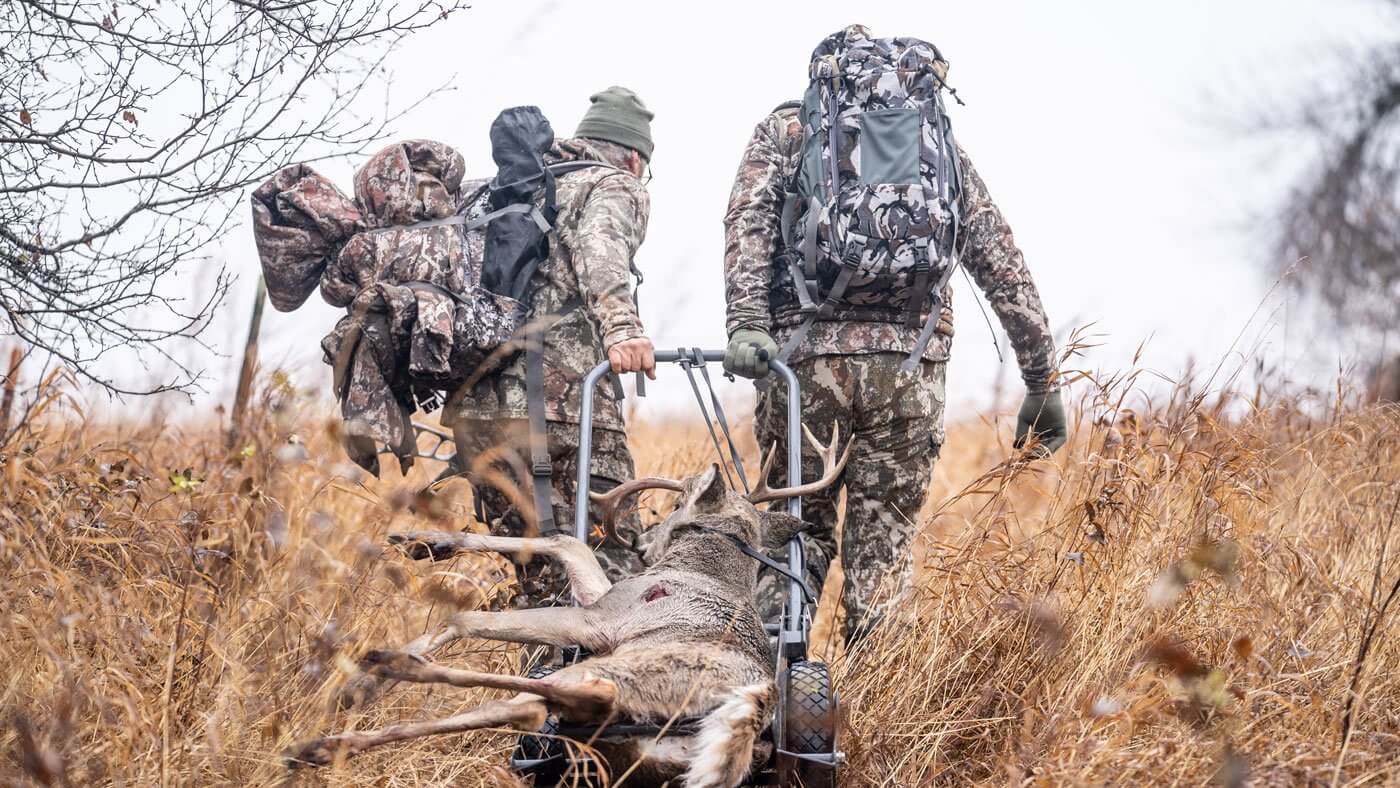
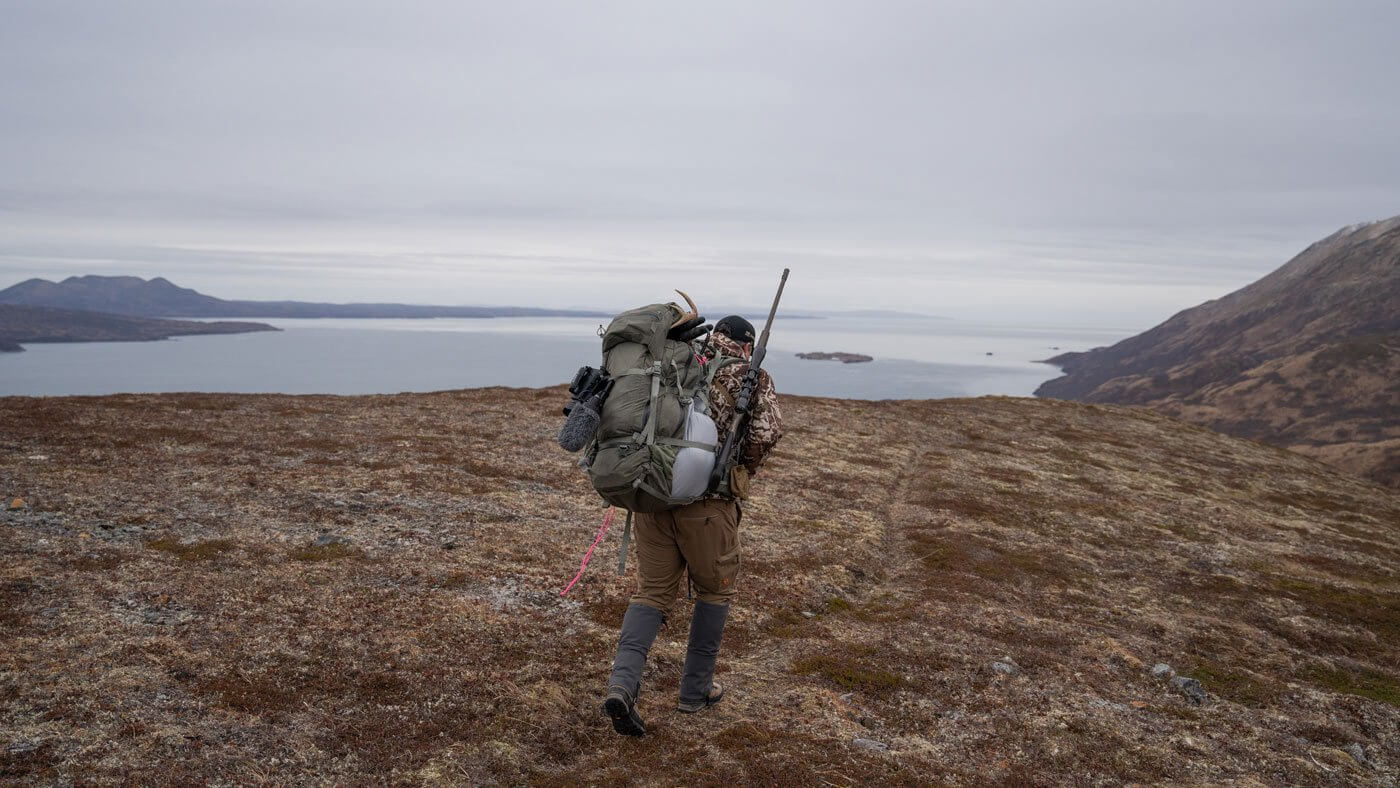 Good meat care starts with an efficient pack out!
I shuttle meat, camp and equipment the shortest distance of about 200 yards if climbing a hill, to at the longest, a 1/2 mile, if traveling over flat or slightly downhill grade, at a time. I shoot for 60–80-pound loads per shuttle load, get some tunes going and just grind. My body's daily capability is exponentially improved when I do this method of hauling weight for a distance, dropping it, going back to get more with just my empty pack and repeating. The oxygenation and reset your body receives on that light walk back to get the next load is extraordinary. Always drop your bags of meat in the shade between laps and just keep moving.
Another benefit to this method is if you run into an issue or just can’t go on that day for some reason, all of your meat and gear is withing a short distance at all times which gives you the full gambit of options at your disposal. Your trekking polls will be your best friends for this stage and the cheers at the end will be well deserved!
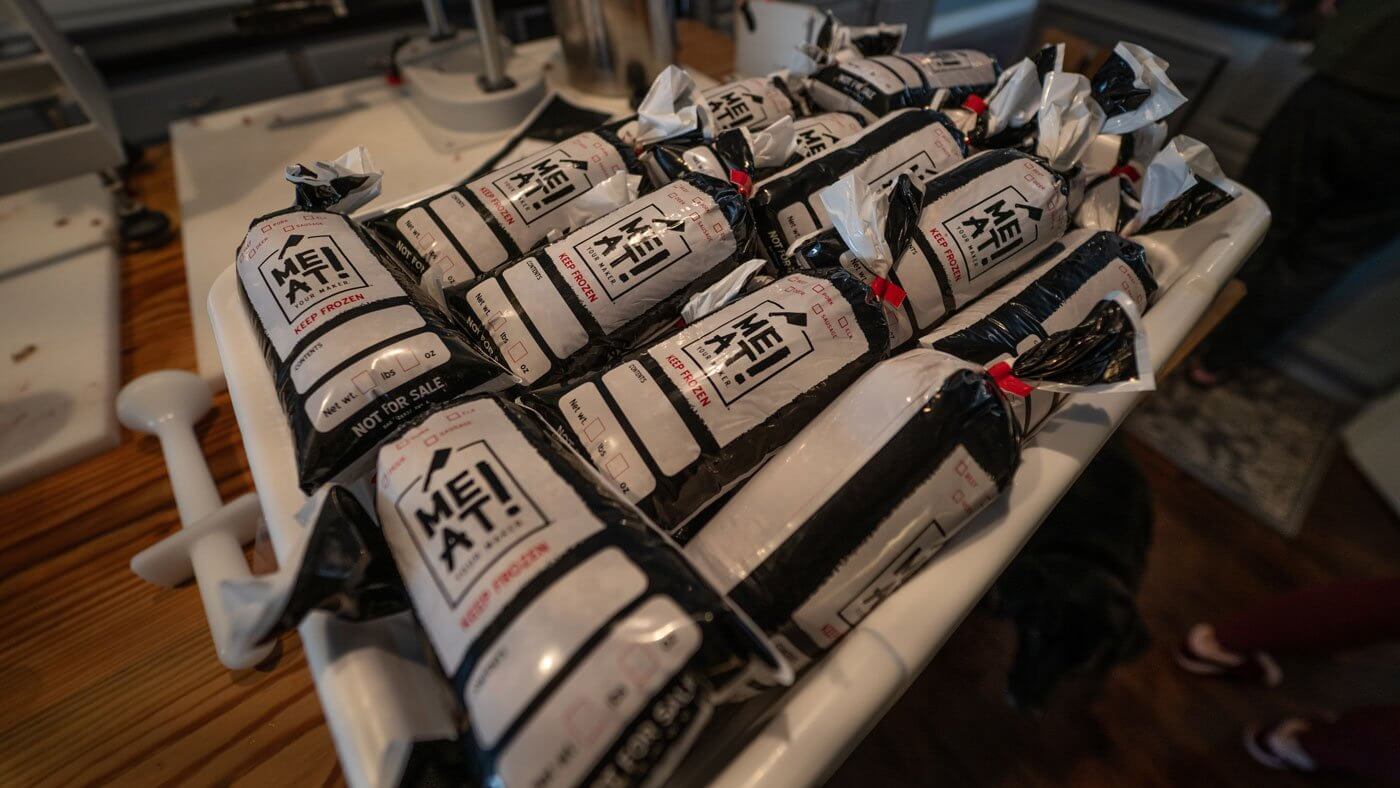 The end result of proper meat care, a freezer full of tasty game meat!
Thanks so much for following along with this blog series and best of luck in all your backcountry hunting adventures!