- Savage Blog
- Patterning a Shotgun: The Step By Step Process
Patterning a Shotgun: The Step By Step Process

Whenever you’re getting ready for your upcoming hunting season or trip to the range, you want to be confident that your equipment is working correctly to have the confidence you need to hit your shots. When you get a new rifle or handgun, one of the first steps is heading out to the range to sight it in and get it properly zeroed. It’s just as important to pattern your shotgun, whether you’ve bought it for the first time, bought a new type of ammo, or are trying out some new choke tubes. Knowing how your shotgun patterns will help you understand its accuracy potential and possible limitations, making you more effective in the field and on the range. So read on as we take a look at the process of patterning a shotgun!
Why Pattern a Shotgun
Patterning a shotgun is an important first step to understanding how it shoots. Much like rifles, no two shotguns will shoot the same. Shotguns will have varying accuracy and pattern density based on the type of ammo used, the choke tube used, and the manufacturing process from assembling the shotgun. Understanding how your shotgun shoots before you head out to the field or the range will help improve your accuracy and ensure you’re making good, ethical shots.
Several different variables can affect the pattern of your shotgun. These include:
Ammunition Size and Material: The size of the shot you are using and the material can impact how dense your shotgun pattern is. For example, non-toxic shot made of materials like steel or tungsten tend to have a tighter pattern than traditional lead shot, due to being harder to deform and maintaining a straighter flight path. Shot with smaller pellet sizes like #8, #9, or #10 will also typically have larger and more dense patterns than larger shot sizes like #4, #3, and #2 due to the higher concentration of pellets in the shot string.
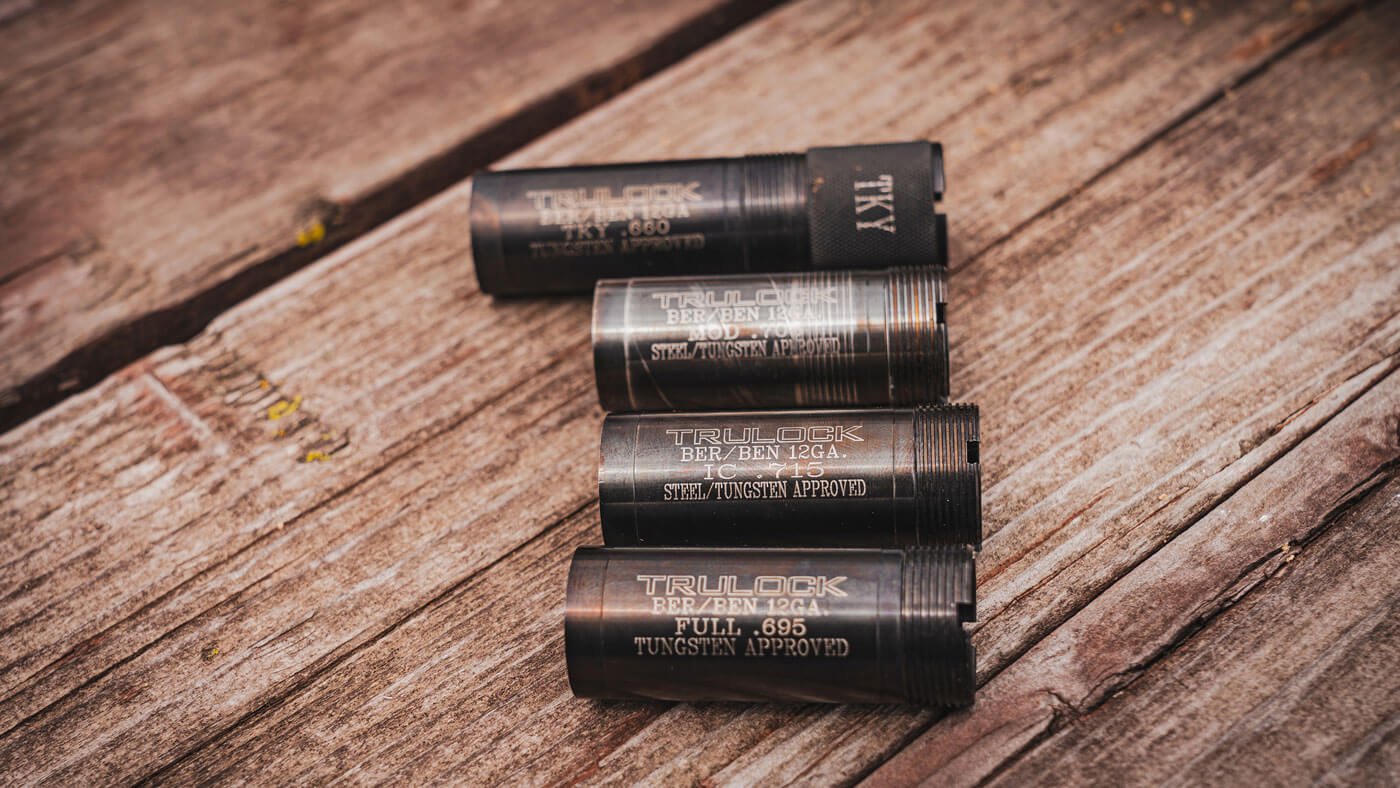
Choke Tubes: Your shotgun will often come with several choke tubes that have different constrictions, which determine how open or tight your pattern is. The more open the constriction, the wider and more spread out the pattern will be. Common choke tubes from most open to most restrictive are cylinder, skeet, improved cylinder, modified, improved modified, full, and extra full. If you use one shotgun for multiple types of hunting and clay shooting, changing the choke tube can help you quickly and easily adjust your pattern for optimal performance.
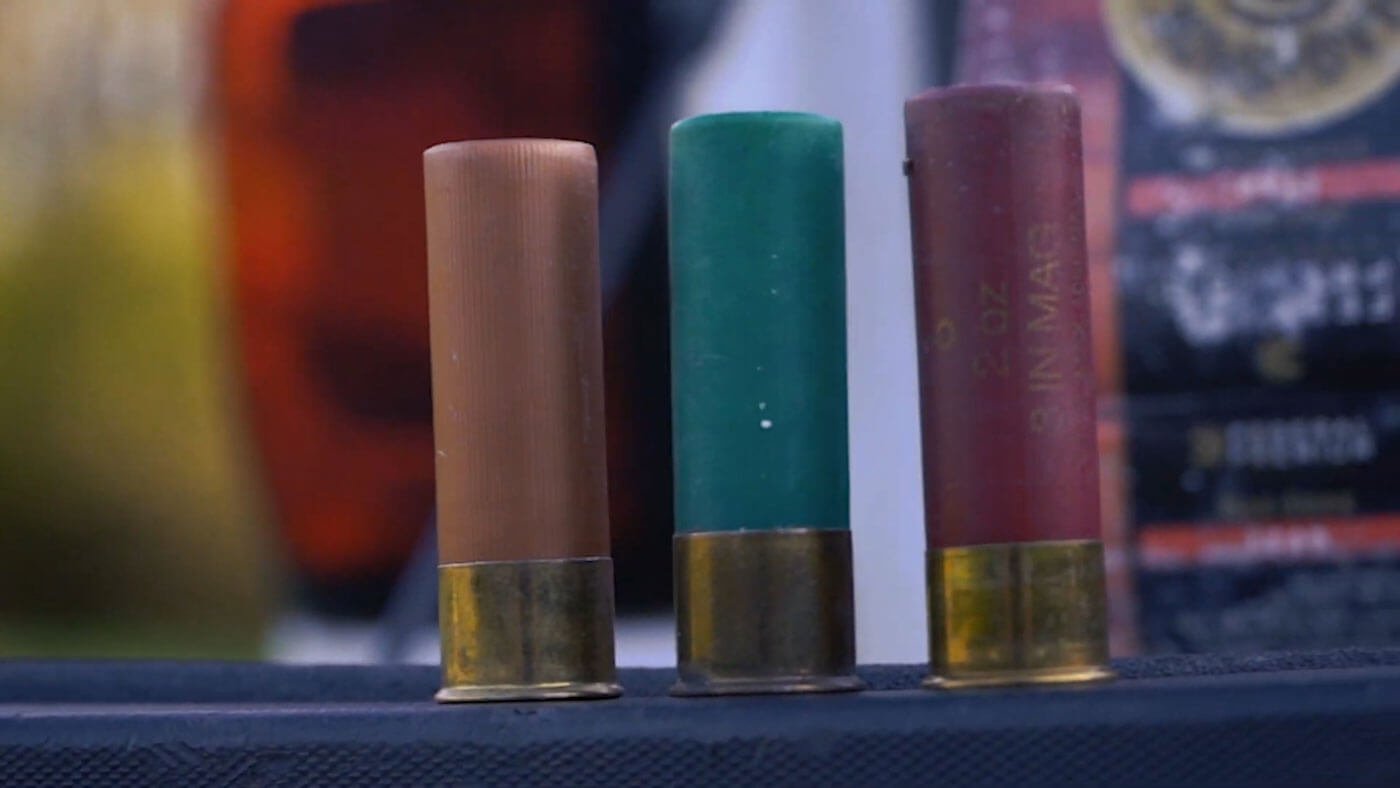
Ammunition Characteristics: Like rifle and handgun ammunition, different shotgun shells have different characteristics. The ounces of shot, length, and shot speed can all affect the pattern of your shotgun. Once you find a shell that your shotgun shoots well, try to buy that same brand and type of shell consistently, or find a shell with similar characteristics that will perform similarly.
Equipment Needed
Patterning a shotgun is a fairly simple process that doesn’t require much equipment! Here’s what you’ll need:
A board, piece of cardboard, or other flat target surface on which you can draw a large circle or hang your pattern target, and a target stand. These may not be necessary if your range has a pattern board for shotguns.
Miscellaneous materials like your stapler, push pins, a marker for drawing a circle, etc.
Eye and ear protection
Your ammunition and choke tubes you will be using for hunting or target shooting.
A bench with a shooting rest (optional)
Your favorite Savage shotgun!
Whether you’re patterning for turkey hunting, waterfowl, or clay targets, the equipment you use will mostly stay the same. What will change is the distance you are patterning at, the chokes and ammo you are using, and how you will determine a “good” pattern from a “bad” pattern.
How to Pattern
When you get to the range to pattern your shotgun, there are a few considerations you’ll want to keep in mind. First, think about the distance that you will be shooting at in the field or on the range. If you’re taking your shots for pheasant hunting at 10-15 yards, you will want to pattern your shotgun at that distance. Note the distance of the pattern board from the firing line, or measure out the correct distance for your target stand if you are patterning on private property.
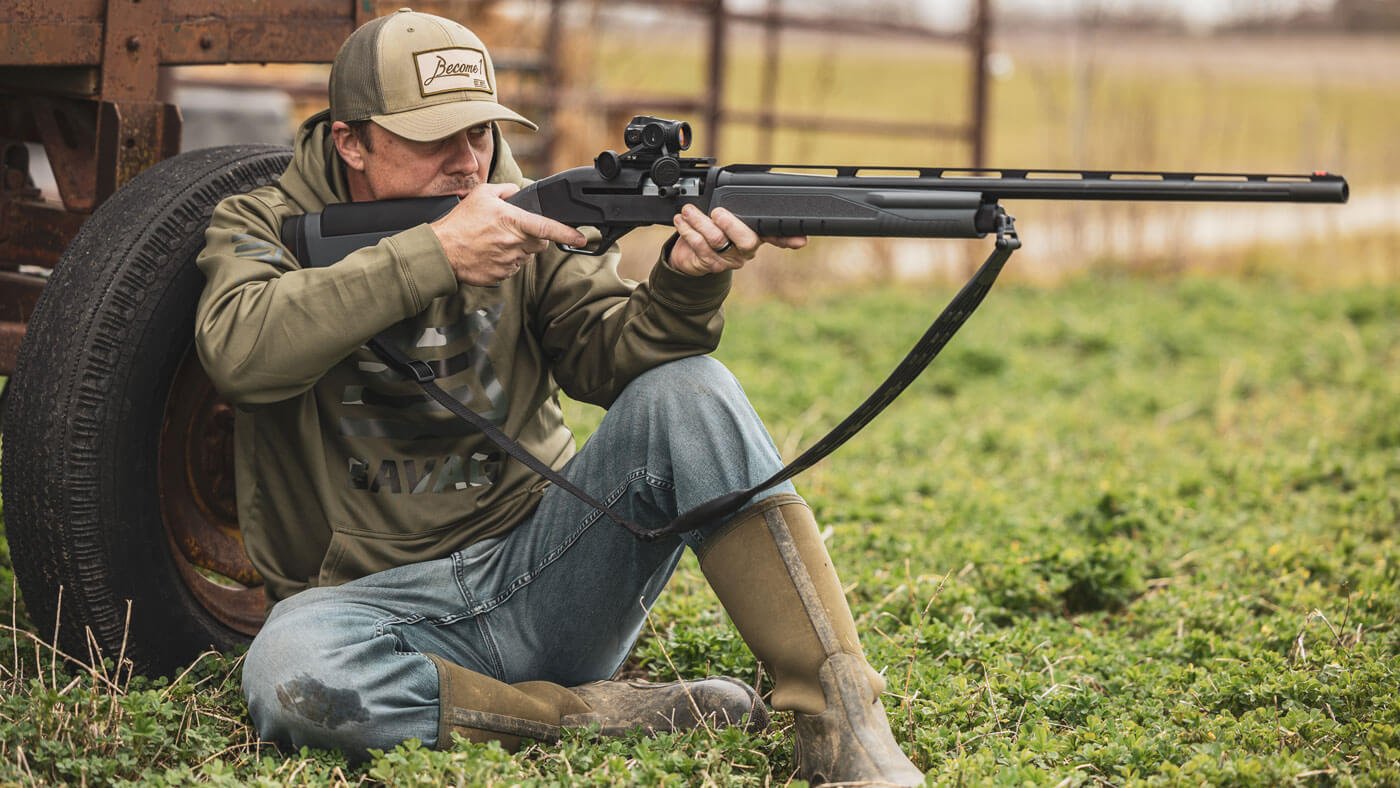
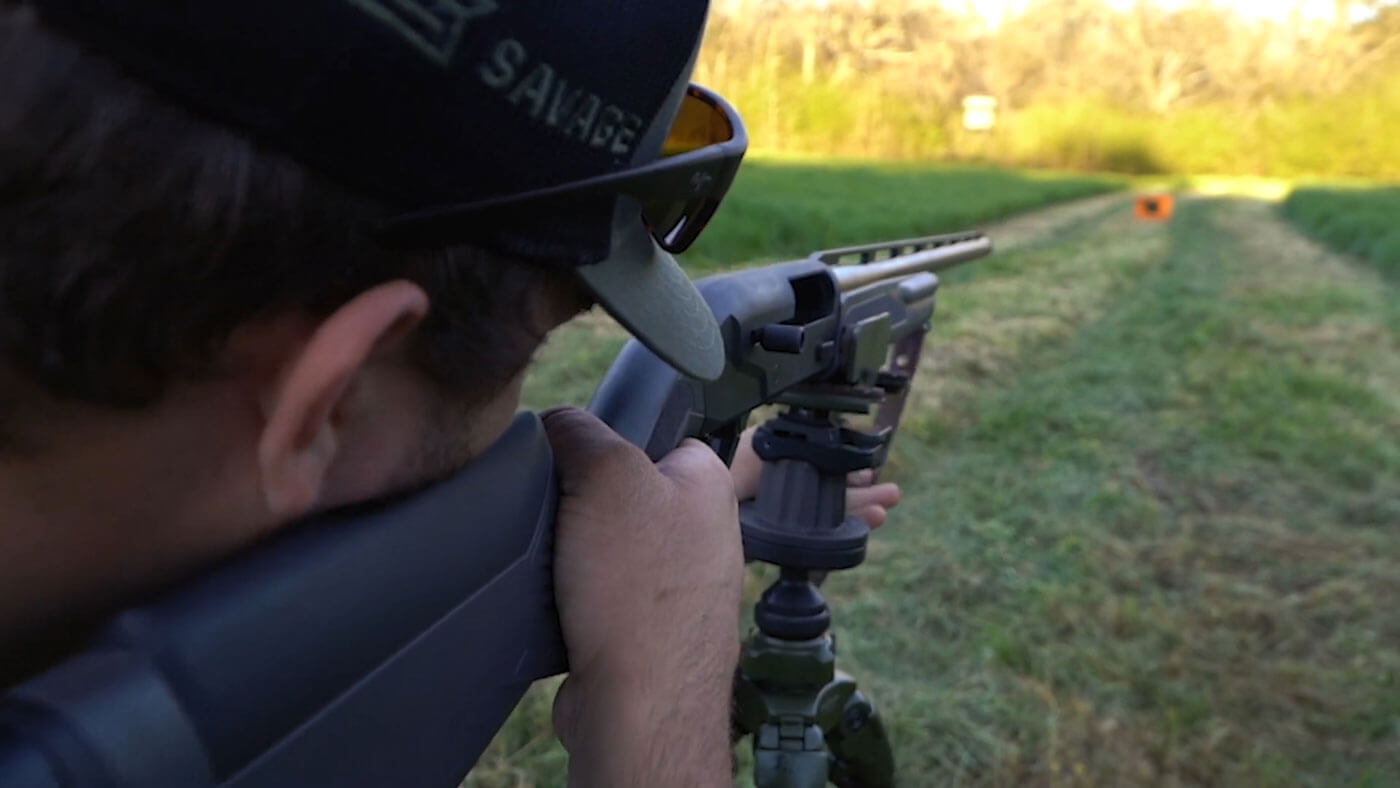
The second consideration is how you will typically be shooting. If you are shooting offhand in the field, take a shot or two at the pattern board off-handed to get an idea of how you and the shotgun perform in that situation. If you are turkey hunting and supporting your shotgun with a rest or bipod, then pattern your shotgun from a bench rest to get the best idea of your pattern.
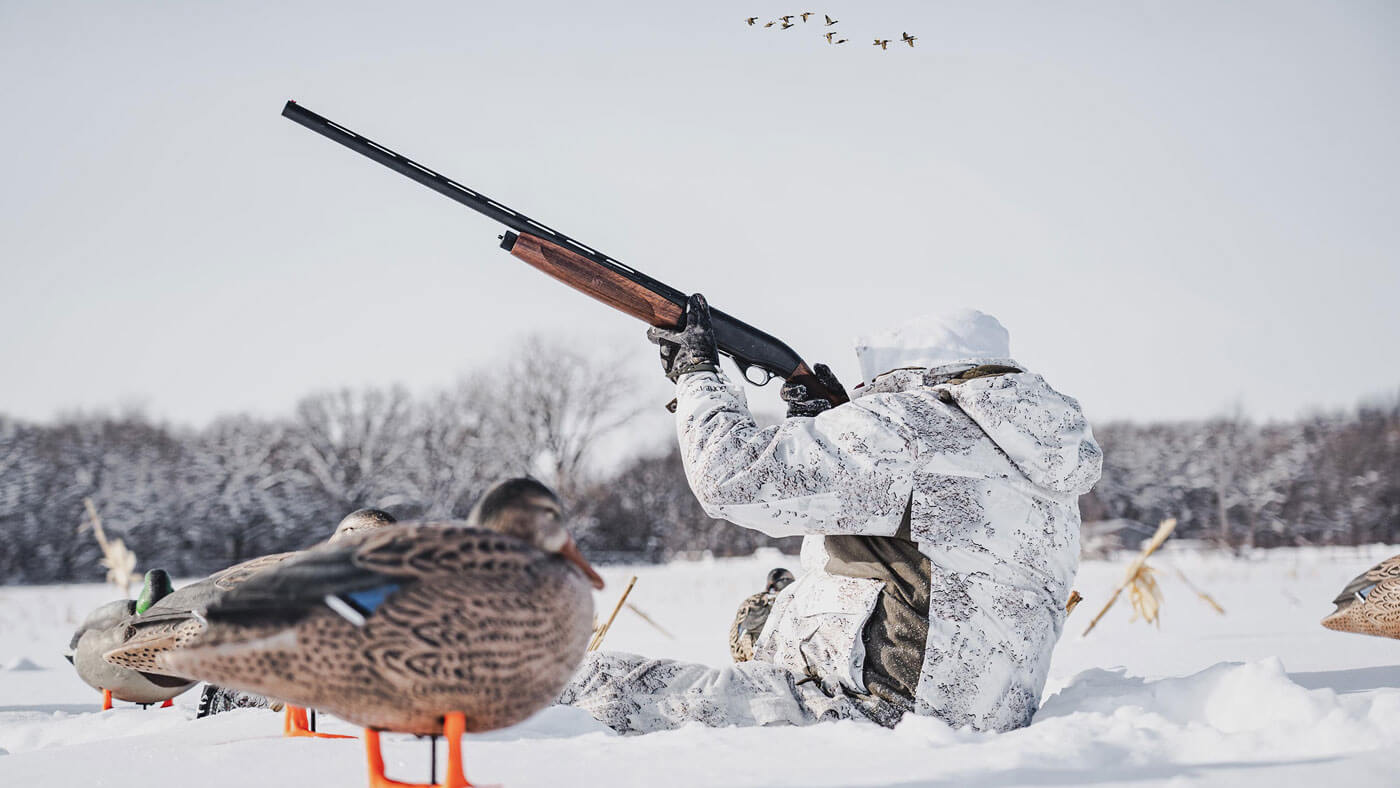
The last consideration for patterning a shotgun is practicing for multiple scenarios. This is especially useful for hunting, where conditions can change between the early part of a season and the late part. As the season goes on, birds often flush from greater distances or are more hesitant to commit to decoy spreads, resulting in farther shots being taken. If you are patterning for upland or waterfowl hunting, pattern your shotgun with different chokes, ammunition, and distances that you expect to be shooting birds at different times of the season.
Here are the steps for patterning a shotgun:
Step 1: Set up your target
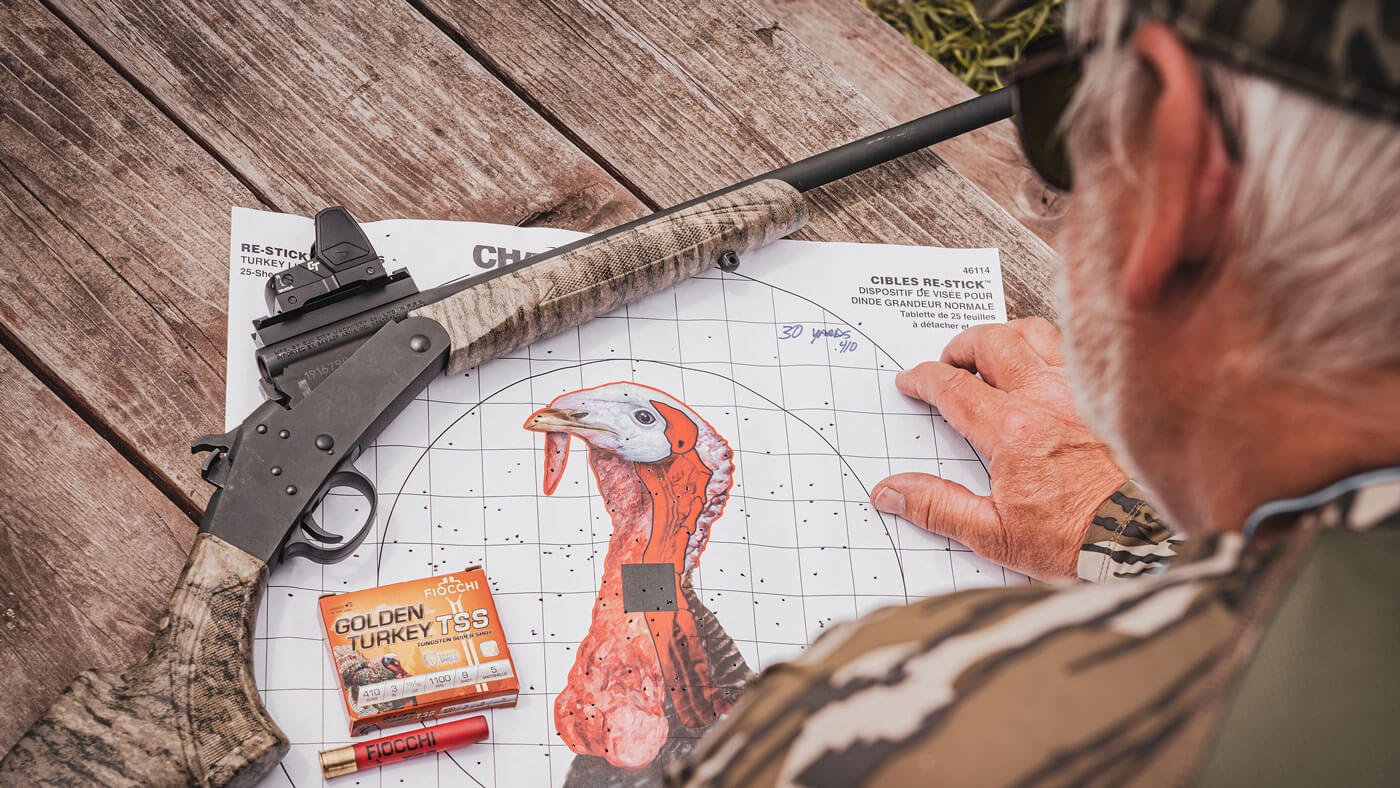
Set your target up at your desired distance. If you have a patterning target, staple or tape it centered on the target board. If you do not have a patterning target, then draw a 30-inch diameter circle in the middle of the target board with an x or dot in the center to aim at. To get a concentric circle, you can bring a circular object to trace or use a 15-inch string and marker to trace a circle.
Step 2: Setting up the shot
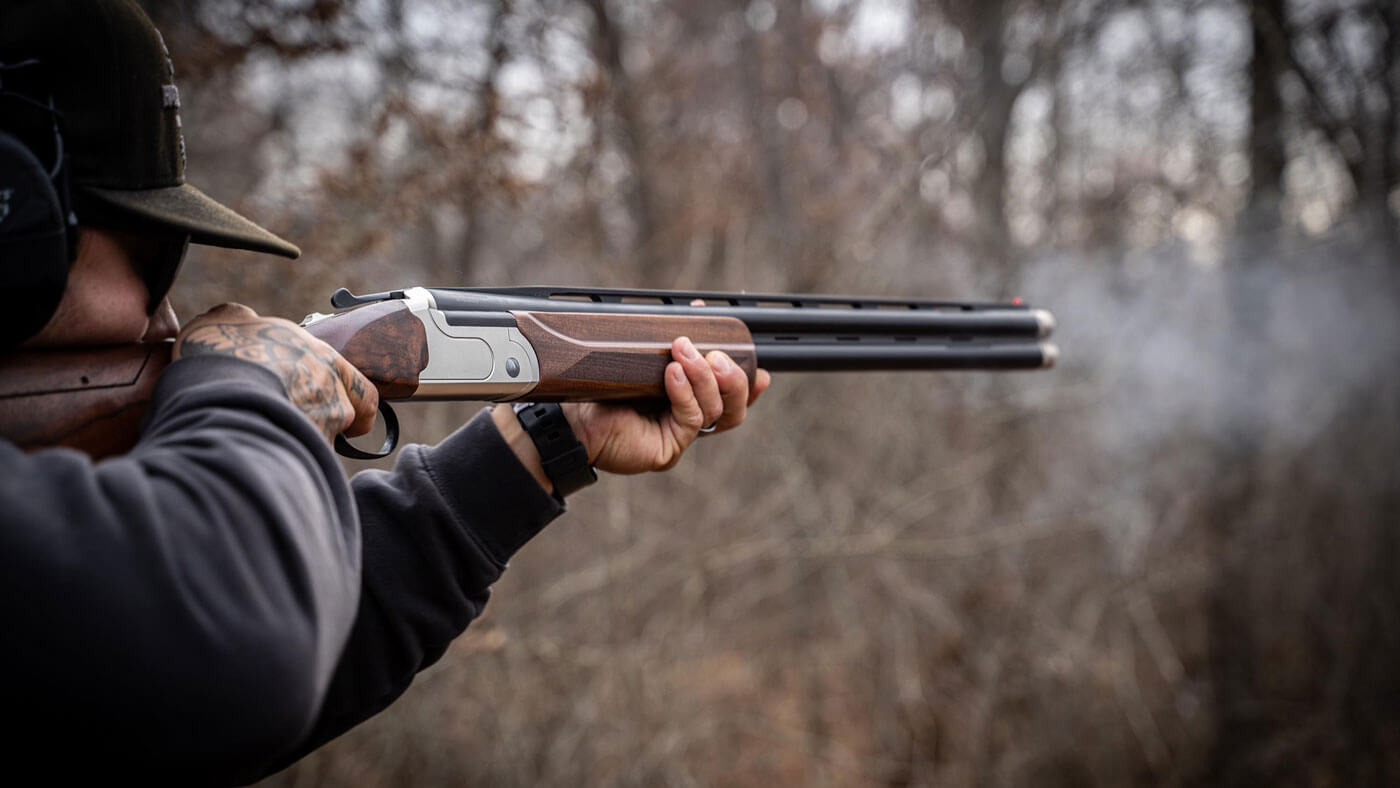
Step back to the distance you plan to shoot at and either get your shooting bench set up, or get your shotgun, ammunition, and choke tubes ready to shoot. With your shotgun unloaded, check to ensure you have the correct choke tube in the gun by taking a choke tube wrench or coin and unscrewing the choke. After verifying you have the correct ammo and choke, make sure you have your eye and ear protection on, and load your shotgun.
Step 3: Shooting your pattern
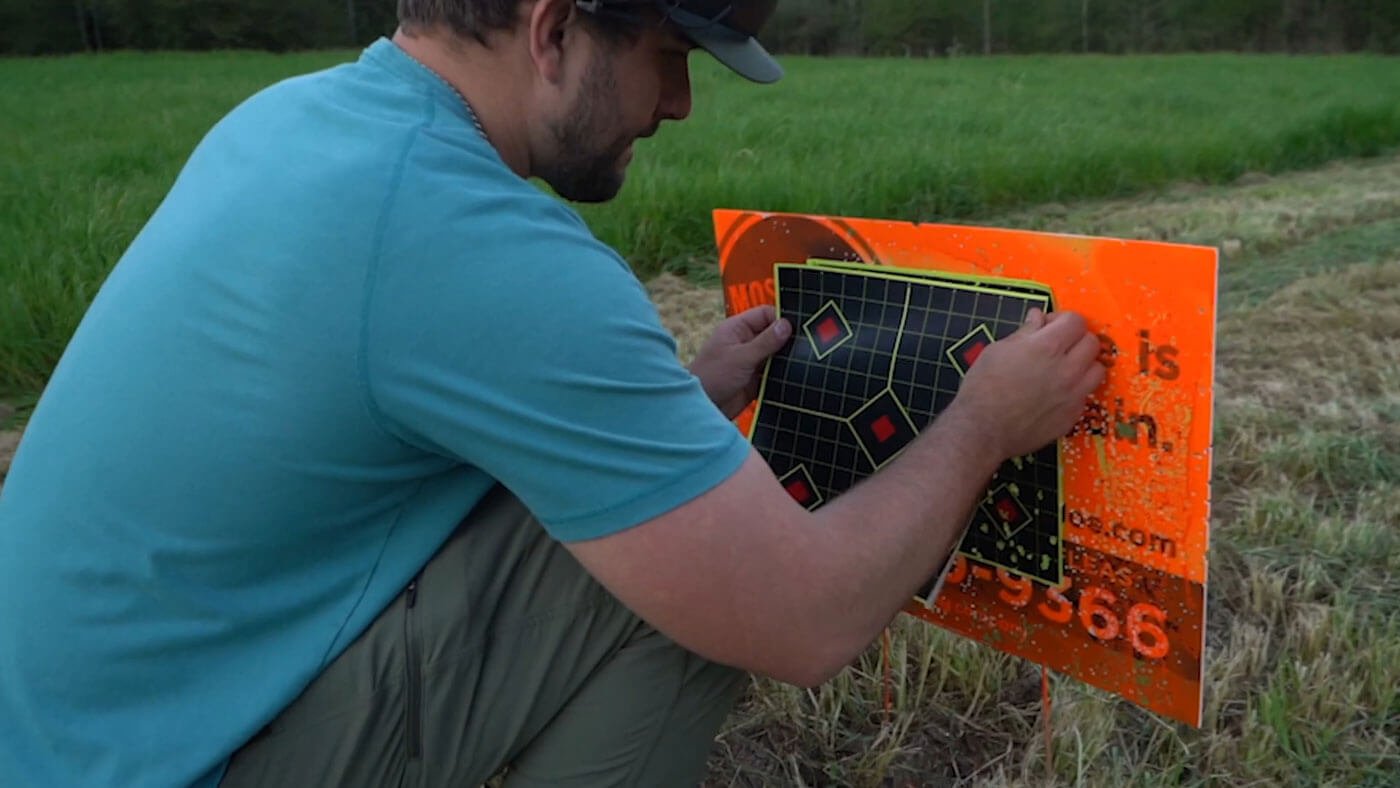
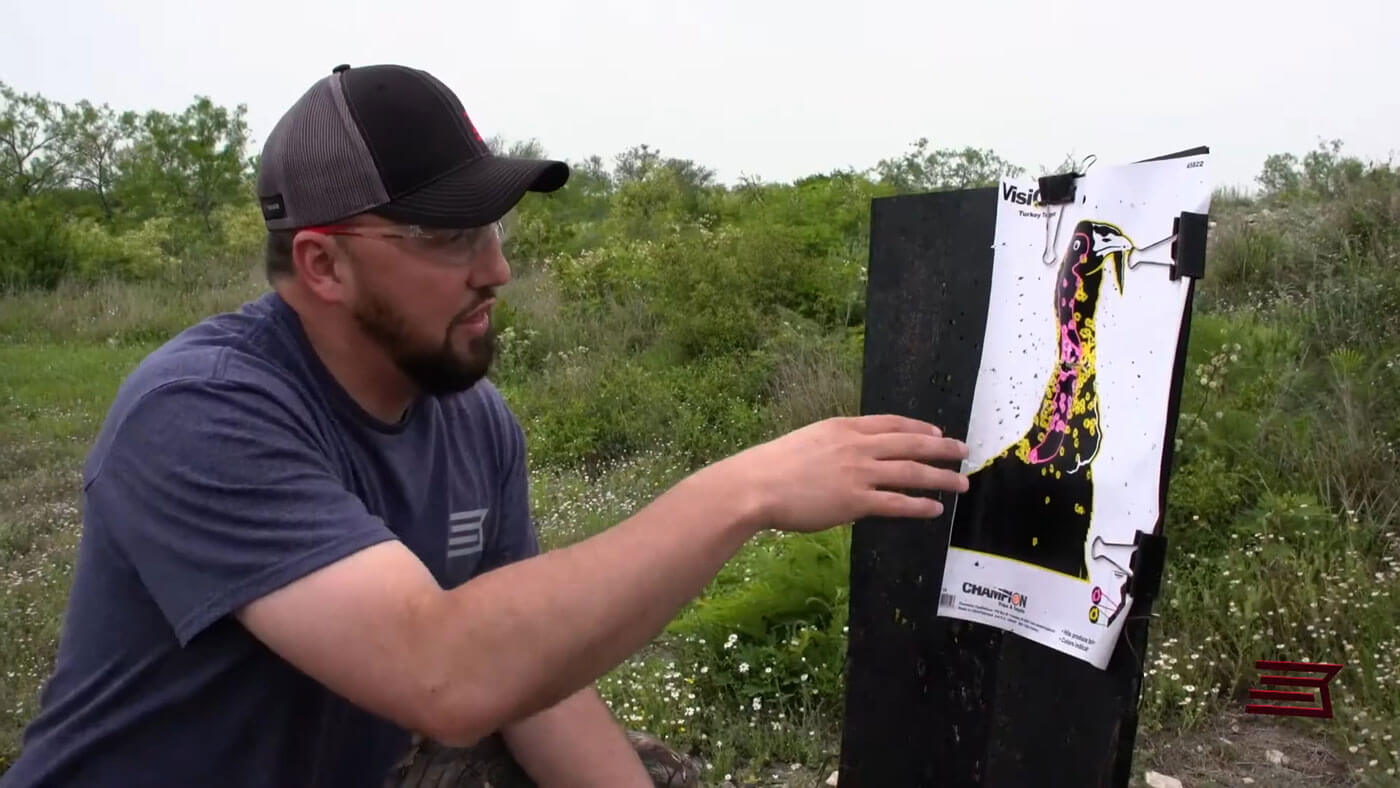
Once everything is set up and you’re ready to shoot, line up your shot on your point of aim and pull the trigger! Take your time and don’t rush your shot. You want to make sure you’re as accurate as possible to get a good idea of the pattern your shotgun is shooting. After shooting your pattern, if the range is safe, go down and inspect your pattern board. When inspecting your pattern, you want to look for a few key details:
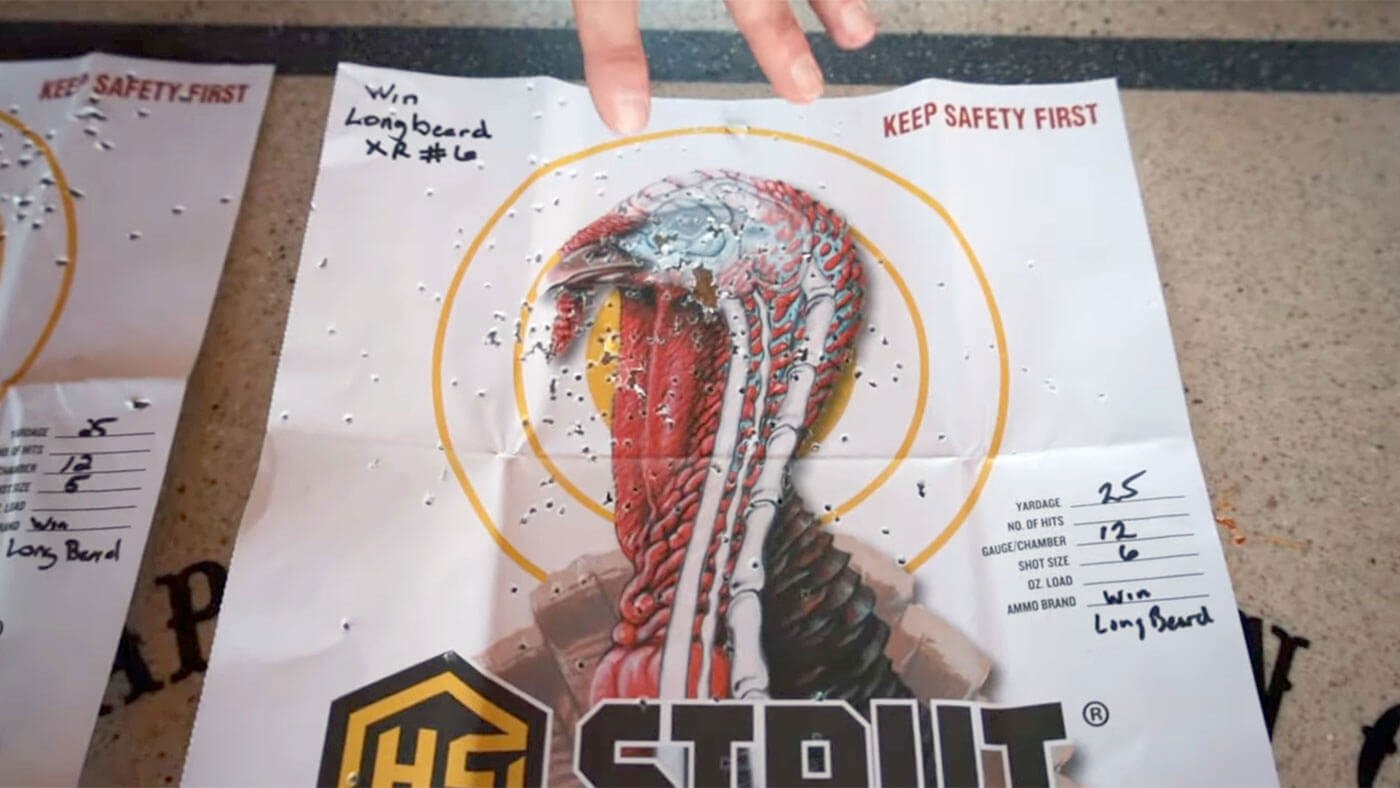
Pattern density: Is your pattern fairly uniform across the circle, or are there holes and gaps in the pattern where a bird could sneak through the shot? You want to see an even, well-distributed pattern with no obvious holes across the board.
Total hits: Some shooters will count the number of pellets within the 30-inch target circle as a measure of how good the pattern is. This number will vary depending on what you are using your shotgun for, and the size of pellets you are shooting, making it a subjective measurement of a good pattern.
Vital hits: If you’re using a patterning target, such as a turkey head or duck, check to see how many pellets are in the vital area. If you have several vital hits, that is a good indication that your pattern will do well enough to quickly and ethically harvest the animal you are hunting.
After inspecting your pattern, put up a new target and take a few more shots at different distances. See how your pattern changes, and better learn the limits of yourself and your shotgun so you can take ethical shots out in the field.
Adjusting Your Pattern
If you’re patterning a shotgun and not quite getting the results you’re looking for, there are a few ways you can adjust your pattern. The first way is to change your choke tube. Choke tubes work by constricting the opening of the barrel down to a certain size, causing a shot pattern to be narrower or wider as it exits the muzzle. If your pattern is too wide, consider switching to a choke with a tighter level of constriction, like an improved modified or full choke. The same is true for too tight of a pattern that can be loosened up by switching to an improved cylinder or cylinder choke.
The second way to adjust your shot pattern is to change up the material of the ammunition that you are using. Harder metals like steel are more difficult to deform, so the pellets hold their pattern tighter as they fly down range. Softer metals like bismuth will have wider patterns than a typical lead shot pattern. Also note that if you are hunting certain species like waterfowl, or hunting in certain public hunting areas like national wildlife refuges, your ammunition choices will be limited to non-toxic shot only. Make sure you review all regulations in your hunting area and follow all proper guidelines for ammunition usage.
You can also change the shot size of your ammunition to affect your shot pattern. Larger shot sizes will typically have less dense patterns due to having fewer pellets per shell. If your pattern has several holes, you can switch to a smaller shot size with more pellets for a denser pattern. One consideration when switching shot size is energy and terminal performance. Given the same material, a smaller pellet will have less energy as it travels downrange, which can affect your performance on target and result in a less effective shot. Changes in shot size should be fairly small, such as going from a #4 lead pellet to a #5 or #6 lead pellet.
Patterns for Hunting and Target Shooting
The most important part of patterning a shotgun is knowing what pattern is best when it comes to your hunting or target shooting situation. Here’s a quick rundown of what you should be looking for in some common types of hunting and target shooting:
Turkey hunting
When you’re patterning a shotgun for turkey hunting, you are looking for a tight, even pattern. Turkeys will often bob their heads and look around frequently while moving, so your pattern must have as few gaps as possible for their head to slip through. The most ethical shot to take on a turkey is in the head and neck area, which is fairly small. This requires a tight enough pattern to get several pellets in the head and neck for an ethical shot, but the pattern must also be spread out enough to allow some room for error in case the turkey moves during the shot. The most commonly used chokes for turkey hunting to achieve the desired pattern are extra full or full chokes, with shots often taken from 40 yards or less.
Waterfowl hunting
The pattern you are looking for in waterfowl hunting will vary depending on the time of the season. For the early season, birds will be more willing to come into decoy spreads. Shots will be at closer ranges, so more open patterns are desirable to allow for a greater probability of hitting your target. Consider using an improved cylinder or modified choke to take advantage of a more open pattern. For late-season hunts, birds will often linger longer and be more hesitant to come into decoys. Tighten up your pattern by switching out to an improved modified or full choke, and consider switching to steel shot if you are using bismuth or copper for a tighter pattern at longer ranges.
Upland bird hunting
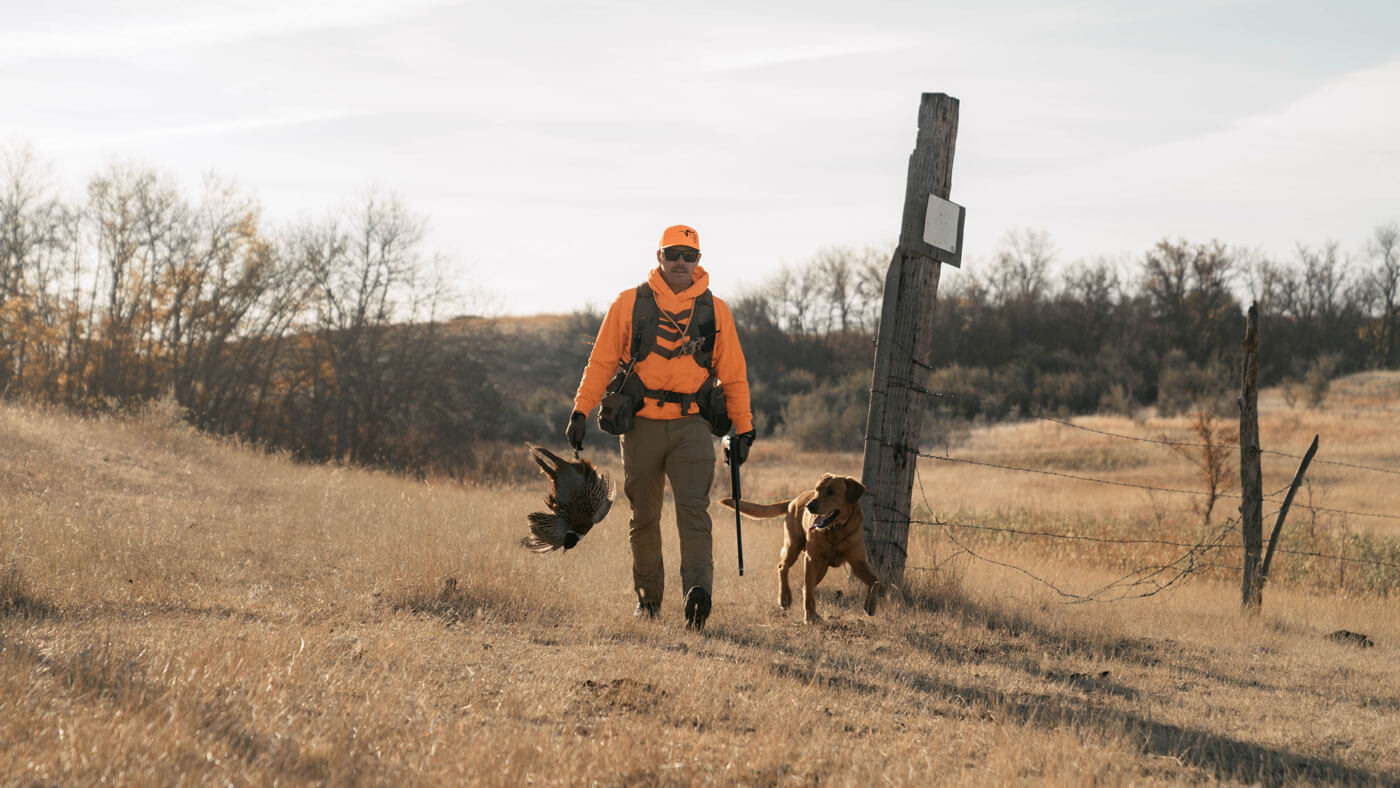
When patterning a shotgun for hunting upland birds like pheasant, quail, or grouse, you will want to keep a fairly open pattern. Stick with a cylinder or improved cylinder choke to get an effective, close-range pattern. This is especially true in the early season when cover is more plentiful and birds will stick to cover longer before flushing out. As the season goes on, birds will flush from cover sooner and at further ranges, as tall patches of grass and shrubs become less concentrated on the landscape. Tighten up your pattern with a modified or improved modified choke for the late season to extend your effective range, especially when hunting pheasants.
Clay Shooting
Whether it’s trap, skeet, sporting clays, or five-stand, clay shooting can call for a variety of different patterns depending on the situation. In close-range scenarios often found in skeet and five-stand, a more open pattern with a cylinder or skeet choke is ideal for casting a wide pattern that can hit a fast-moving target. For sporting clays and trap, targets can be shot at greater distances, requiring the need for a tighter pattern from a choke like a modified or even a full choke. If you’re using an over/under or double barrel shotgun, try using a different choke tube in each barrel to be able to adapt your pattern to targets at both close and long range.
Patterning a shotgun is one of the most important steps you should take before you hit the field every season. It is a simple process that can help save you a lot of headaches in the field and on the range. Putting in more time behind your shotgun’s trigger will not only help you understand your shotgun more, but it will also help you visualize your pattern and know the best shots to take. So before you pull your shotgun out of the safe for the season, take a quick trip to the range to get one last session in on the pattern board!
