- Savage Blog
- Using Trail Cameras for Deer Hunting
Using Trail Cameras for Deer Hunting

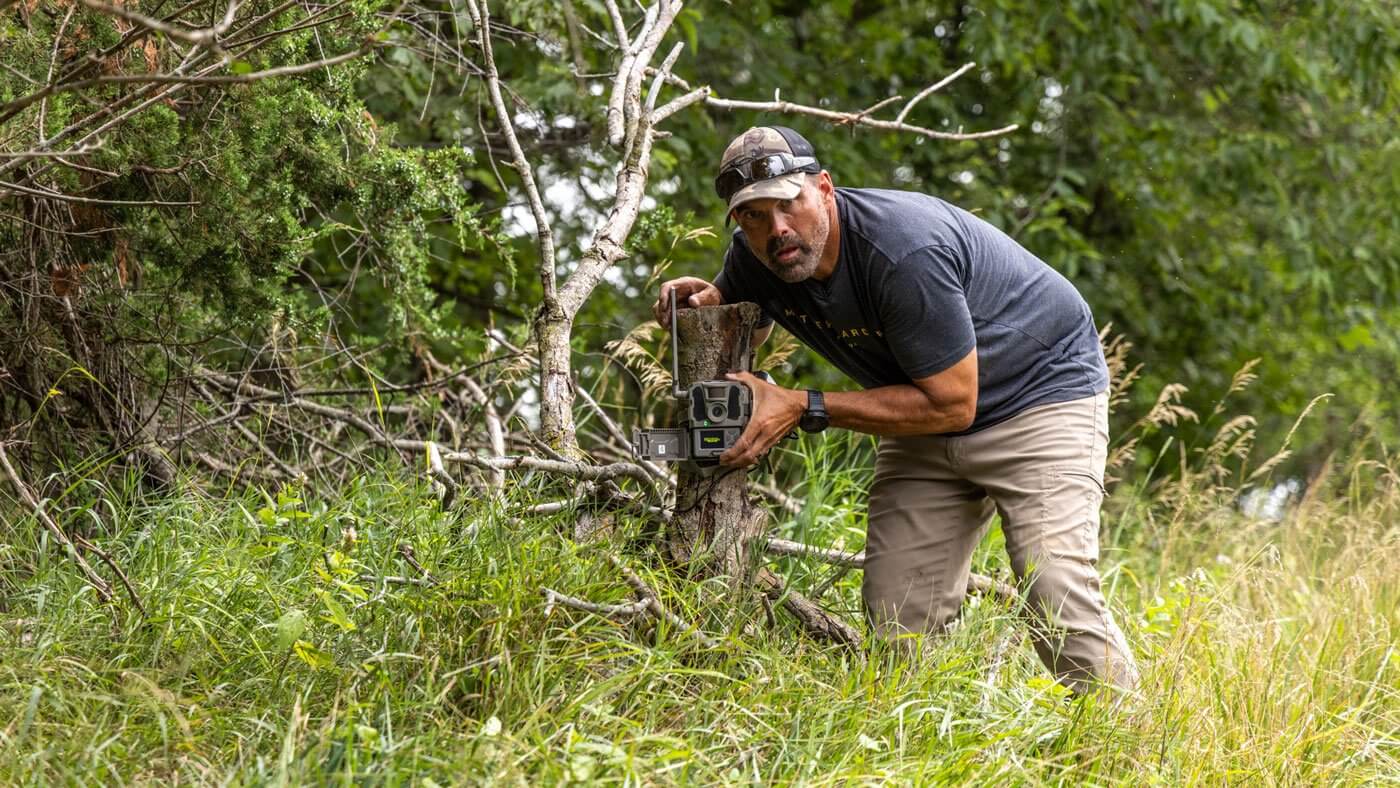
For many deer hunters, using trail cameras has become ubiquitous with scouting and preparing for their next hunt. Trail cameras can provide great information for scouting and understanding how deer move throughout the property you hunt. They’re perfect for gathering information, making a plan, and harvesting your target buck.
Whether you’re new to hunting or just want to learn a few new tricks, this blog will give a detailed overview of how to use trail cameras, what information you can gain from them, and how you can make a plan for this season to improve your chances in the field!
Types of Trail Cameras
There are plenty of trail camera options on the market today with different resolutions, storage capacities, and image options. However, the biggest difference in cameras is cellular cameras vs. traditional non-cellular trail cameras.
Cell Cameras
Cellular trail cameras are often the first cameras a hunter thinks of when talking about using trail cameras. These cameras can connect to cell phone towers and satellites to send pictures to you in real time, as long as you have a signal. They require a cell phone plan to use, but allow you to more easily scout multiple properties or properties that are farther away.
Pros
Can scout multiple properties easily
Useful for properties that are far from your home
Compatible with major cell network plans
Available in a wide variety of configurations
Cons
Extra cost for cell network subscription
Generally more expensive than non-cell cameras
Require extra setup and companion apps
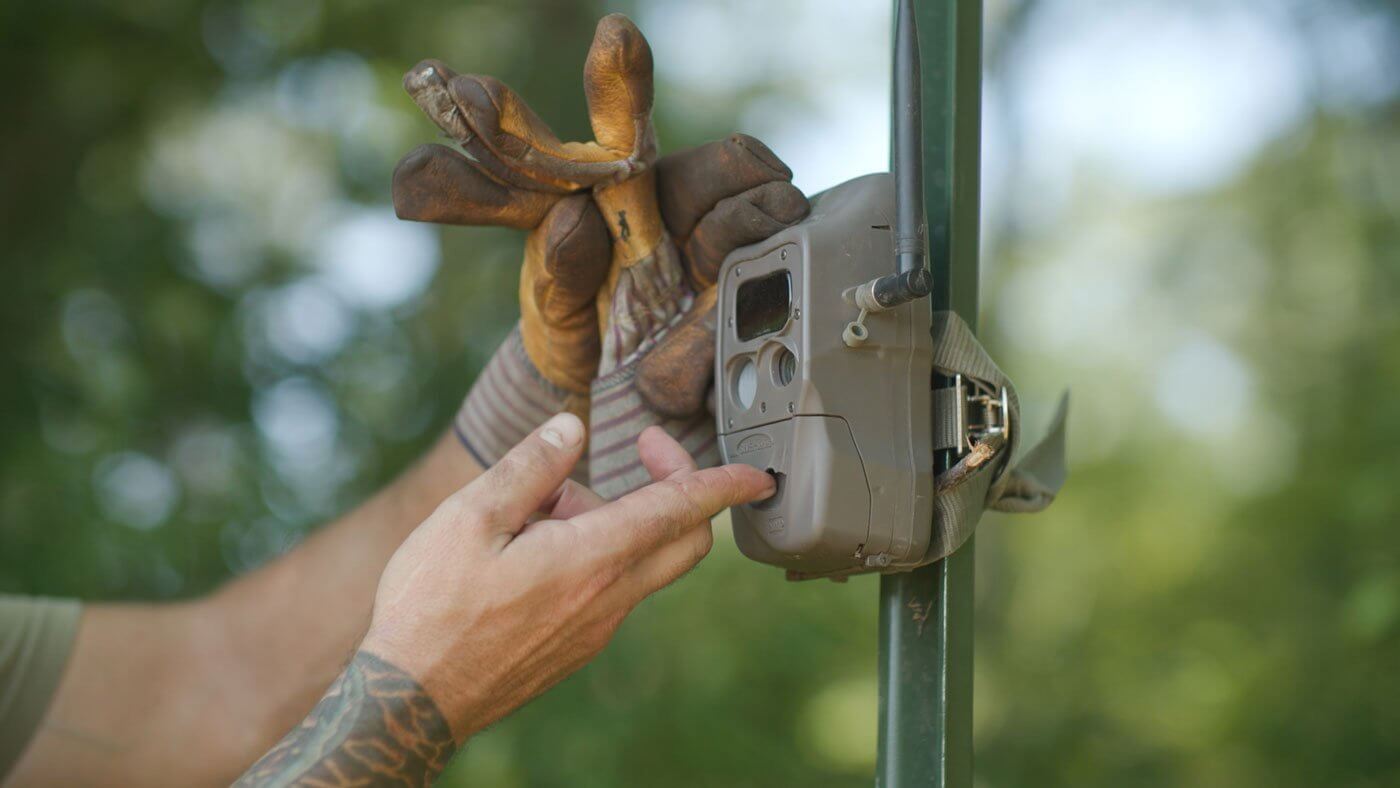
Traditional Cameras
While cellular trail cameras have become more popular, traditional trail cameras are still used by many hunters. They are excellent for learning the basics of trail cameras, come packed with up-to-date lenses and features, and are available in a wide range of options.
Pros
Generally more affordable than cellular cameras
Easy to set up and start using
Usable in areas with little to no cell service
Cons
Require an SD card for image and video storage
Must change out SD cards consistently to check images and videos
Some brands have limited options
There is also extensive aftermarket support for today’s trail cameras, with a variety of accessories available. These accessories can help you place trail cameras in better locations, extend battery life, and easily read images in the field. These accessories include:
Rechargeable battery packs
Solar panels
Tree mounting hooks
Camera stands
T-post mounts
SD card readers.
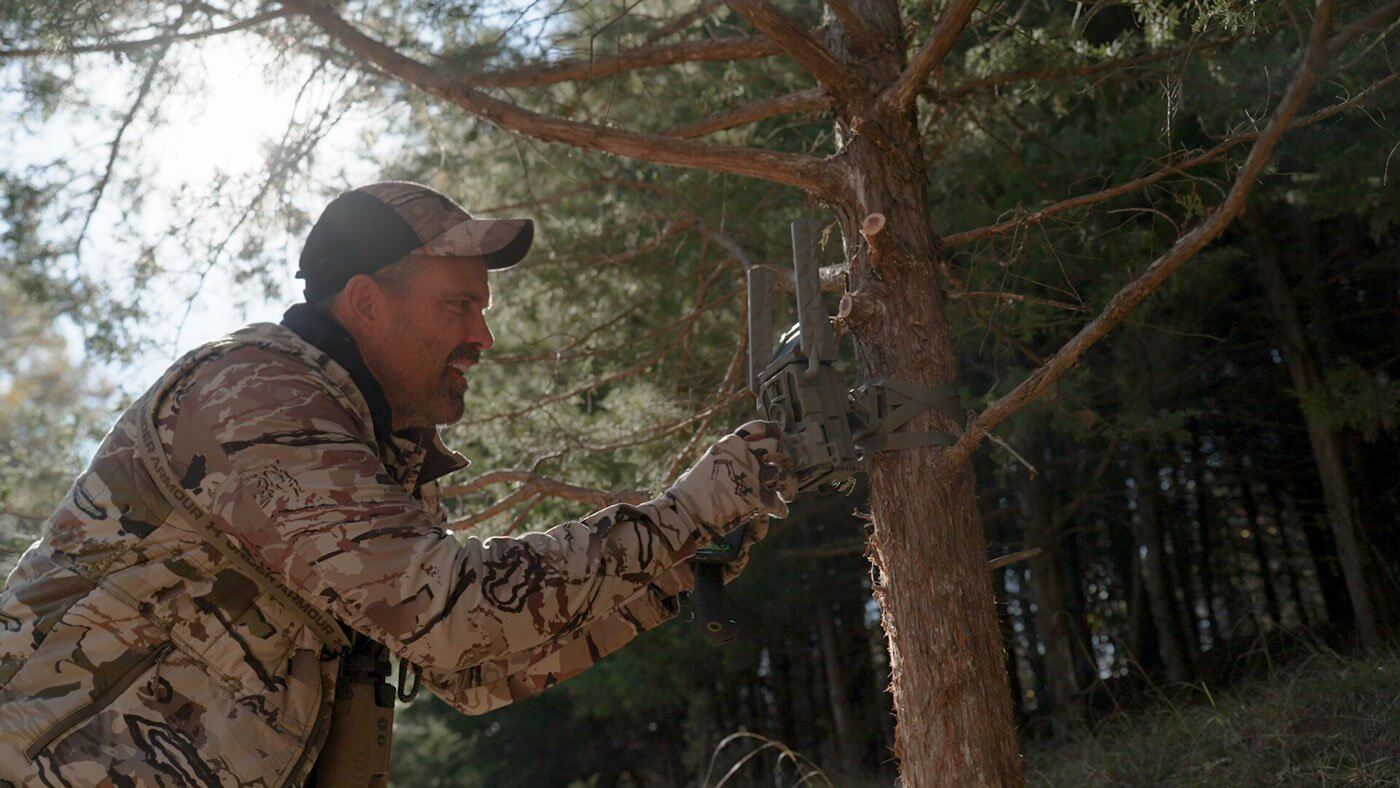
Trail Camera Placement
An important part of using trail cameras is knowing when to put them out. Many deer hunters will put cameras out beginning in June or July. This helps you gather information throughout the summer and gain a solid understanding of the size of the deer herd on the property you are hunting, the daily routines and patterns of the deer, and you can monitor how bucks are growing throughout the summer. You can leave cameras up throughout the season, and then take them down in the winter after deer seasons have closed.
Some hunters also choose to leave their cameras up year-round. This lets you get a full picture of a year in a deer’s life and how their movement and habits change throughout the seasons. You can also leave your cameras up year-round to use them to scout during other seasons, like turkey season. The downside to this approach is that you will need to swap out replaceable batteries more often, and you may risk disturbing deer more when checking non-cell cameras.
If you primarily hunt public land, check your state’s regulations before placing trail cameras on public land. Some states have banned the use of trail cameras on public land altogether, while other states limit how long cameras can be up or on what pieces of public land they can be placed on.
Where to Place Trail Cameras
They say knowing is half the battle, but when it comes to using trail cameras, knowing where to put them can be the difference between deer hunting frustration and having a successful season. When placing trail cameras, your main focus should be on areas where deer are frequently found throughout the season. These areas include food and water sources, travel corridors, field edges, and several others.
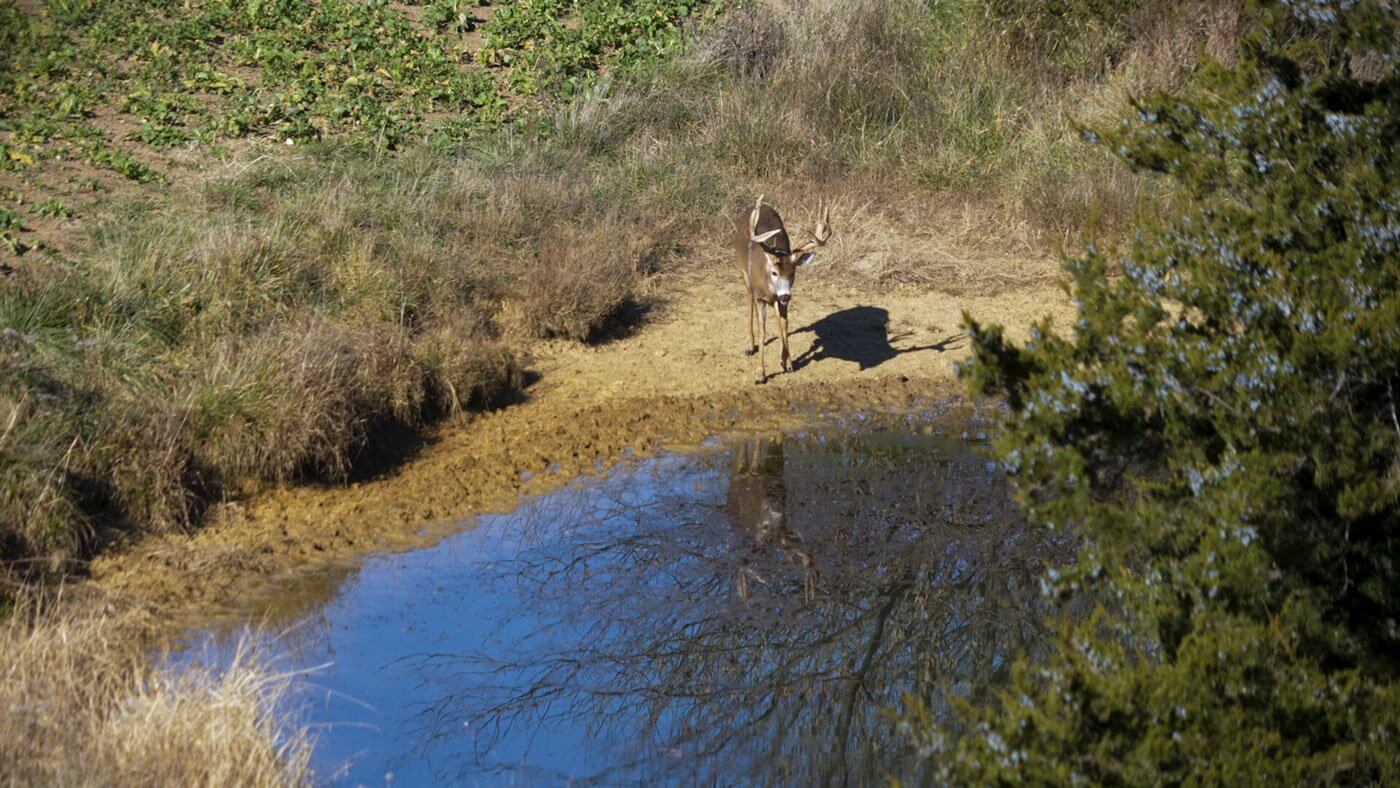
Food and Water Sources
If you only have one or two trail cameras to put out, your number one focus should be placing them in areas near food and water sources. Like any other living animal, deer need food and water throughout the day to survive. Whether it’s an agricultural field, a stand of oak trees, or a food plot, identifying food sources on the property you hunt and scouting them is key to finding deer.
Note how food and water sources in the area relate to each other, and place cameras in areas where the two are close together. This could be spots such as ponds next to ag fields, a meadow between two creeks, or a hardwood oak stand along a river bottom.
Bedding Areas
Bedding areas are important to deer. These are places where deer feel safe, secure, and where they can lie down and rest throughout the day. Typically, bedding areas consist of areas of thick cover, such as tall switchgrass fields, dense cedar thickets, swamps, and other areas of heavy cover.
When scouting bedding areas, it is important that you don’t enter them and bump deer that are actively using the area. Instead, if you have identified a potential bedding area, place cameras to scout areas nearby. Look for deer trails leading out of the bedding area, especially those leading to food and water sources, and place cameras in these areas.
Travel Corridors
You can think of travel corridors almost like an airline or rail system. Food, water, and shelter sources can be thought of as “hubs”, where the centralization of activity takes place. The deer will also have “routes” away from these hubs, which are the travel corridors where they move from one spot to the next.
A key feature to look for when identifying travel corridors is deer trails. These trails, while used by all sorts of wildlife, are paths formed by deer walking through a particular area repeatedly. Deer trails can often be found along ridge tops, following creeks, along field edges, and through terrain features like saddles, funnels, and pinch points. All of these features can be thought of as travel corridors, especially if they are between food, water, and cover. If you find a deer trail, using trail cameras near it is never a bad idea.
Pinch Points and Funnels
Pinch points and funnels are terrain features that are prime for using trail cameras. Both of these features can be found in areas where the terrain forces deer to navigate through specific, narrow locations. Some of these can be obvious, like the entrances to valleys and canyons. Others require more on-the-ground scouting, such as identifying navigable routes through swamps, pathways between thick cover, and entrances to wooded draws. When you find a terrain feature that creates a narrow path for deer and find deer sign in the area, it’s the perfect place to place a trail camera for further scouting.
Pre-season Scouting
The pre-season is the best time for using trail cameras to gather information. This is the time to figure out the areas deer are utilizing on your property and to make a plan for the upcoming season. There are a few key pieces of information to look for during this time.
Movement patterns: Take note of how deer are moving throughout your property. What trails are most commonly used? What is their daily routine? What food and water sources are they moving between? Knowing where the deer are moving to and from will help you determine where to set your stands before the fall.
Growth: If you’re targeting a specific buck, using trail cameras is a great way to monitor antler growth throughout the summer. You can keep tabs on the buck’s growth, and you can pattern its movements and make a plan on how to hunt that deer when the season comes.
Behavior: Deer behavior changes from the pre-season to early archery seasons, to the rut. Using trail cameras helps you identify changes in behavior and change your hunting tactics accordingly.
Use this information to plan stand and blind locations, set up mineral licks and feeders, where it is legal, and key in on specific locations that deer frequently appear in as places to hunt in the early season.
In-season Scouting
Using trail cameras isn’t just for the pre-season. They are also important tools to use during hunting seasons to keep up with the changes occurring throughout the season. From September to December, deer movement and behavior will change multiple times. If you’re hunting multiple seasons, having trail cameras is vital to keeping current on deer behavior and patterns. Here’s what you should be looking for.
Changes in movement: As summer moves into fall, deer will change their movements based on their needs. Deer that were primarily food driven during late summer into early fall will start adjusting their movements into the rut, and then move back to relating to food and bedding areas after the rut. Using trail cameras helps you stay on top of these changes in movement to adjust your hunting stands.
Time of day appearances: Just like movement changes, deer will also change what time of day they are moving as the season moves along. Hunting pressure will cause deer to move more at dusk, dawn, and during the night, and bed down to avoid hunters during the day. Using trail cameras is critical to finding where deer are moving at first light and last light to give yourself the best opportunity for a shot.
Rut indicators: As deer hunters, we know the rut is the most exciting time of the season. The timing of the rut varies throughout the country and can even vary within a state. Using trail cameras helps you look for indicators of rut activity, such as an increase in scraping and marking, bucks chasing does, and territorial fights. Use these behaviors to change up your calling tactics, or change stands to areas you know are successful during the rut.
While trail cameras are a helpful tool in the woods, they shouldn’t be the end-all of your scouting activities. Using trail cameras is just one tool in the belt of a successful hunter. Combining the information you learn from trail cameras with on-the-ground scouting, good woodsmanship, and thorough practice at the range will help you become a better deer hunter and fill the freezer season after season.
Whether you’re new to deer hunting or a seasoned hunter looking for some new tricks, using trail cameras can be a great tactic to help increase your success in the woods. From scouting your target buck in the preseason to adjusting your hunting strategy when the rut hits, trail cameras are important tools that can help you piece together the puzzle of hunting deer at your favorite spot. So get out there and start gathering your intel to help put together your best season yet!