- Savage Blog
- 5 Tips for Mounting a Scope on Your New Rifle
5 Tips for Mounting a Scope on Your New Rifle

The day has finally come! It’s time to unbox your new rifle! If you’re like me, you already have your new scope and rings ready to top it off. There’s just one last thing to do before you can fire a few rounds down range. It’s time to mount your scope. Mounting a scope can be a daunting process if you’ve never done it before, but if you follow a few easy steps and remember 5 simple tips you’ll be at the range dialing things in sooner rather than later.
It’s important to note that having the proper tools is essential. These tools are relatively inexpensive and for the cost of a gunsmith’s mounting fee a few times over you can own all the necessary equipment and handle your own scope mounting for years to come. Must have items are gunsmithing screwdrivers, including a torque driver, a gun vise or cradle, thread freezing compound such as Loctite (I prefer semi-permanent Blue) a scope leveling kit and a bore sight.
Let’s get started!

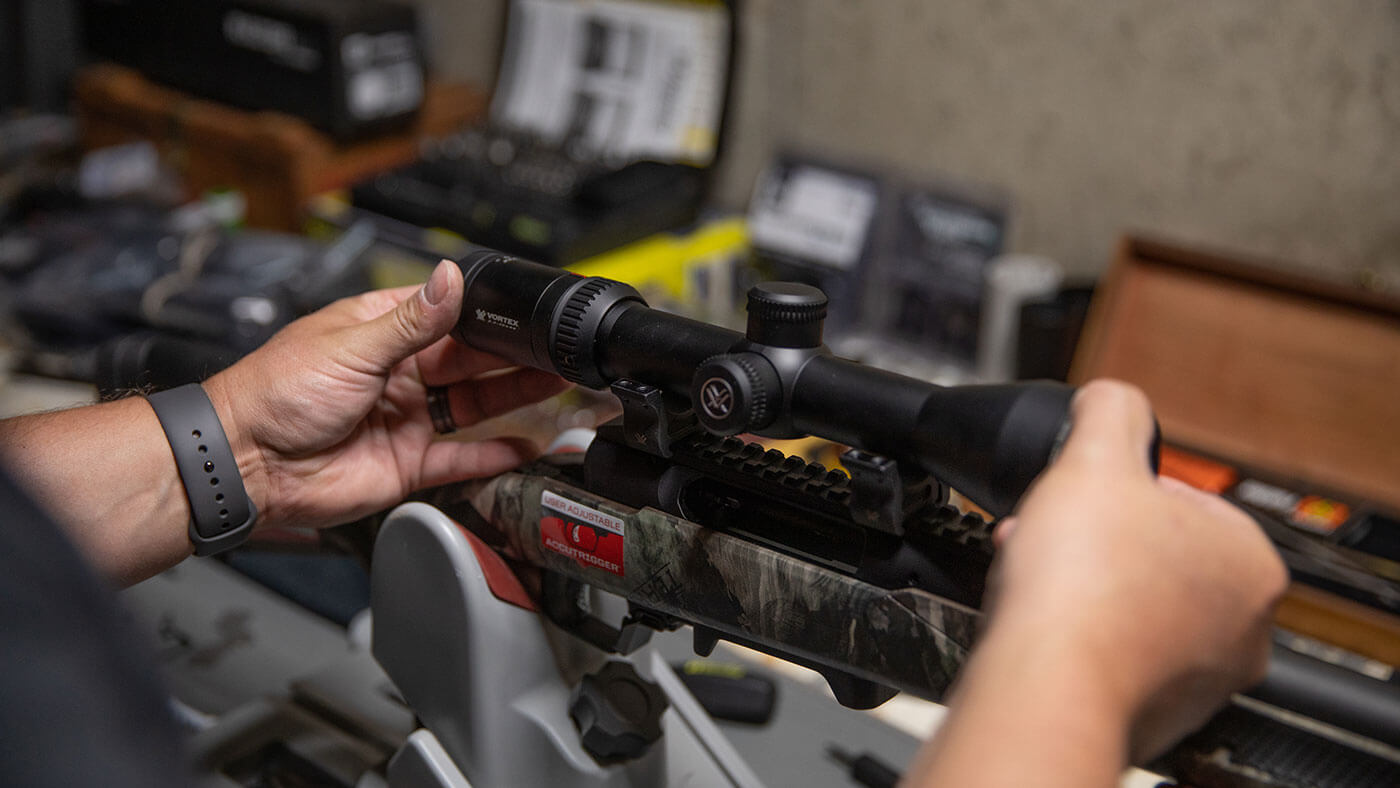
Tip #1: Make sure your bases and rings fit your firearm AND your scope.
Seems simple right? I couldn’t tell you how many times I’ve seen firearm owners purchase their scope and then simply grab rings and bases specified for their chosen firearm. Forgetting to make sure all components fit and work together. Generally, modern scopes for today’s firearms are offered in 1”, 30mm and 34mm tubes. Always check to make sure your rings will accept your scope. Rings also come in different heights so be sure to also choose rings that will allow your scope to sit as low as possible to the barrel without the objective bell contacting any other surface. I prefer a little extra space to allow for scope caps. Be sure to note the correct mounting style on your firearm as some rifles are simply drilled and tapped which require bases, while some come complete with picatinny rails or factory mounted bases ready to accept rings. Finally double check to make sure your bases accept your rings. Sticking with the same brand for both generally helps to prevent issues here. Once you have the correct hardware it’s time to begin the mounting process.
How To Find the Right Bases for a Savage Centerfire Rifle
Tip #2: Use a thread freezing compound
With the firearm unloaded and securely in a cradle, you can mount the bases and rings. First, clean and wipe off any excess oil that may be present. A small amount of oil is ok, just make sure its not excessive. Next, attach your bases making sure they are not backwards. A dry run with everything in place is often worth the time to assemble and disassemble. If your rifle is drilled and tapped, mount your bases using a dab of thread freezing compound to ensure a solid connection that won’t rattle loose when you least expect it. Loose screws and the slightest shift of your scope can be the difference between filling your tag or reliving a nightmare miss on the eve of every season opener. Take the extra step and make sure screws stay where you want them.
Tip #3: Use a torque driver
Tighten all screws with a torque driver set to the manufacturer’s recommended inch-pounds. 15 to 20 seems to be typical. This will ensure you do not over tighten and compromise the threads by stripping. A simple step but often over-looked. Alternately and evenly tighten the screws to ensure an even fit. A torque driver is a must-have for anyone intending to mount a scope. Personally, I like the Wheeler Engineering FAT (Firearm Accurizing Torque) Wrench. It’s inexpensive and easy to use.
Once the bases are set, it’s time to install the lower portion of your rings. Again, use thread freezing compound on all screws. If you use rings that secure to the base by way of a rotating socket system, DO NOT use the scope itself to align the rings. Instead use a dowel of the same diameter instead. Using the scope will likely cause irreversible damage. It’s imperative that the lower portion of the rings are perfectly aligned with one another especially when using a rotating socket system. Use pointed alignment rods to be sure.
Tip #4: Use a professional scope leveling kit
After your lower rings are mounted and aligned its time to level your firearm. The fastest and most accurate way to do this is with a professional scope leveling kit. I use one from Wheeler Engineering simply named the PRLS (Professional Reticle Leveling System). This system is made of only two tools: the barrel clamp level and the reference level. With the gun in the cradle, attach the barrel clamp level. Set the reference level across the lower portion of one of the rings. Slowly rotate the firearm in the cradle until the reference level bubble shows the rifle to be perfectly level. Next, turn the adjustment knob on the barrel clamp level until it too is aligned perfectly. There may be some back and forth referencing the two bubbles as small amounts of pressure can compromise the firearm’s position. Always adjust the barrel clamp knob to match the perfectly centered reference level sitting on your scope ring. Once the two are aligned the barrel clamp is calibrated and the reference level can be removed.

Tip #5: Close your eyes
Next, place your scope in the lower rings. Attach the upper rings but do NOT tighten. Install the rings snug, yet loose enough to rotate and adjust. Carefully shoulder the rifle and close your eyes. Find your natural position and open your eyes. The field of view should be full through your scope with no black ring along the edge. If you do see black, the eye relief needs to be adjusted. Do so by moving the scope itself closer to your eye until you have a full field of view with no black around the edges. At this stage, I want the scope as far from my eye as possible while still seeing a full field of view. If done properly the scope should never contact the user’s nose or forehead when the rifle is fired. Once you feel relatively comfortable with eye relief (noting most scopes can be fine tuned after mounting), set the rifle back in the cradle and rotate slowly until the bubble level on the barrel clamp level is perfectly aligned. Next, take your reference level and set it on top of the scope’s turret cap. Now rotate the scope, making sure not to move forward and backward which will affect your eye relief, until the reference level is perfectly aligned with the barrel clamp level. Again, there may be some back and forth adjusting, making sure the gun is level in the cradle while you adjust and rotate the scope. Once all is aligned, tighten the screws (remember to use thread freezing compound) using a torque driver set to the manufacturers recommended inch-pounds. Alternately tighten the screws for even spacing between the ring halves.

Finally, it’s time to bore sight the scope and take your new setup to the range for fine tuning. What once may have seemed a job suited only for a professional gunsmith can easily be done by anyone with the proper tools. Mounting a scope on your own will not only come in handy when needed on short notice but there is certainly a strong sense of pride and accomplishment after a successful hunt knowing you did ALL the work yourself. Just remember these 5 tips! Good luck to you all this fall. Shoot straight and stay safe.
