- Savage Blog
- Savage RXR22 Disassembly Guide
Savage RXR22 Disassembly Guide

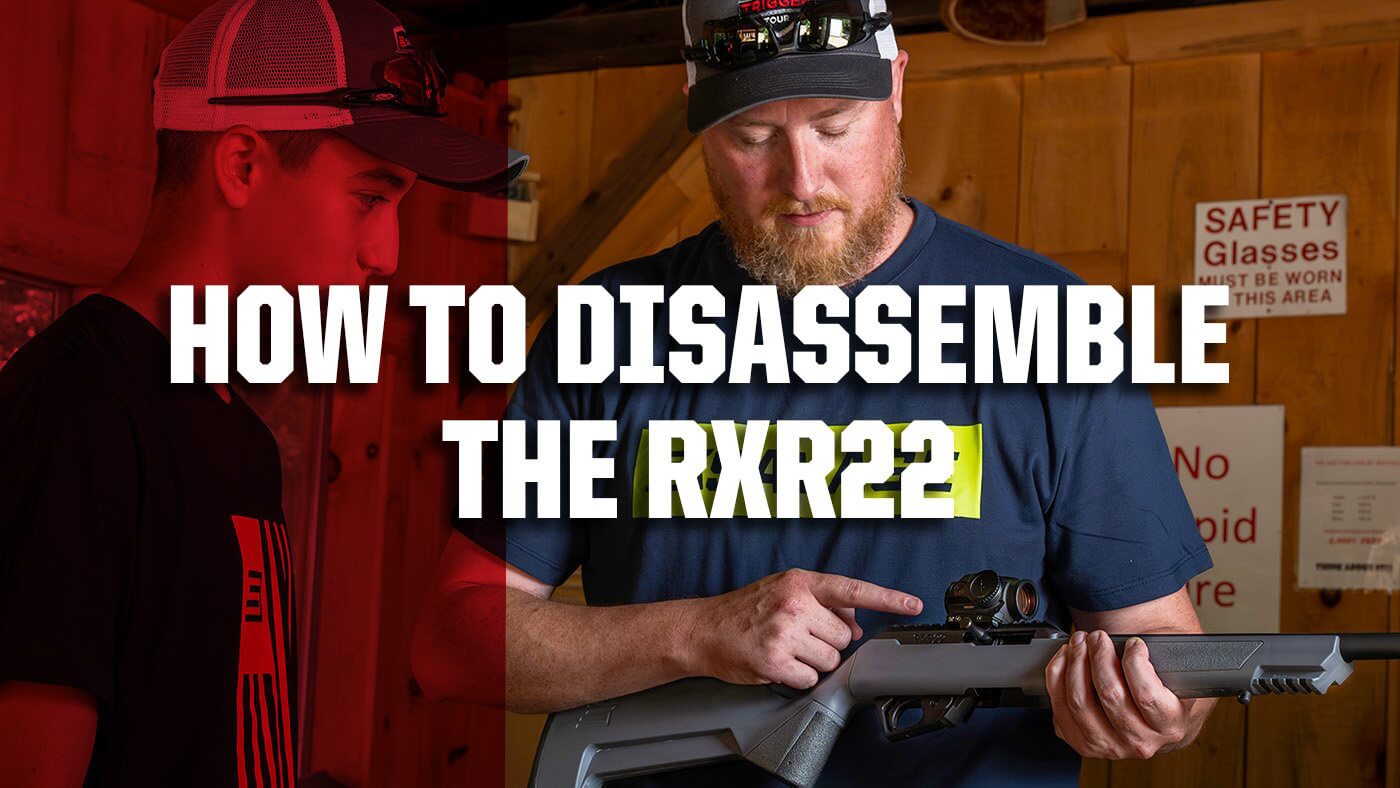
From cleaning to customization, the RXR22 disassembly process is quick and convenient. The RXR22 can be stripped down in a few steps, making it easy to maintain or add and remove aftermarket parts for customization. Let’s walk through this guide on how to disassemble the RXR22!
WARNING! Always keep the muzzle pointed in a safe direction. Make sure your firearm is completely unloaded before attempting any field stripping or disassembly. Do not have any ammunition in your work area when completing any field stripping or disassembly.
Step 1: Stock Removal
Like most rifles, the RXR22 disassembly process starts with removing the stock:
Ensure that the muzzle is pointed in a safe direction at all times.
Make sure your finger is away from the trigger and out of the trigger guard. Unload the firearm as described in the applicable section.
Ensure that the safety button is in the “FULL SAFE” position.
Ensure that the chamber is clear of ammunition and that the magazine has been removed from the firearm.
Using an appropriately sized flat-bladed screwdriver or a coin, rotate the action screw counterclockwise. Unthread it until the screw comes loose from the action
The action screw is captive in the stock. It will not fall out of the stock on its own.
Grasp the barrel towards the muzzle end and lift upwards. Remove the action from the stock.
Step 2: Trigger Group
After removing the stock, the trigger group can be removed to be swapped out with an aftermarket trigger or for maintenance.
Ensure that the muzzle is pointed in a safe direction at all times.
Ensure that the safety button is in the “FULL SAFE” position.
Ensure that the chamber is clear of ammunition and that the magazine has been removed.
Allow the bolt to close as described in the applicable section.
Using a small punch, depress the trigger group release button on the right side at the rear of the receiver. This will allow the rear of the trigger group to swing down from the receiver.
Rotate the trigger group down and pull slightly rearward to disengage the trigger group from the receiver.
WARNING! Do not disassemble the trigger group beyond this point. Be careful not to move the safety button or press the trigger with the trigger group removed. Damage to or alteration of the trigger group can affect the safe operation of your firearm and result in injury and firearm damage. Do not attempt to disassemble the trigger group. Inspect the trigger group for damage regularly. If any part appears damaged or unsecured, DO NOT USE. Contact Savage Arms immediately.
Step 3: Bolt Removal
Once the stock and receiver are removed, you can remove the bolt assembly from the receiver.
Ensure that the muzzle is pointed in a safe direction at all times.
Ensure that the chamber is clear of ammunition.
With an appropriately sized punch, remove the bolt stop pin located at the rear of the receiver
Position the firearm so that the bottom side of the receiver is facing upwards. Grasp the cocking handle and pull it fully to the rear. Hold the cocking handle in its fully rearward position.
WARNING! Use caution as the springs are under pressure.
Carefully lift the front of the bolt upwards to disengage it from the cocking handle assembly.
Once the bolt is clear from the cocking handle assembly, carefully allow the cocking handle to move forward. Fully lift the bolt out of the receiver. The cocking handle assembly can be removed from the receiver through the ejection port.
Once you have gone through the RXR22 disassembly steps, simply complete them in reverse to reassemble the rifle. Safe firearm ownership is your responsibility. When something does not sound, feel, or look right, seek the advice of a professional gunsmith immediately.
If you have any questions, please refer to your owner’s manual and call our customer service team at 1-800-370-0708 (Monday-Friday, 8am-5pm ET).

