- Savage Blog
- Sighting in a Rifle: Tips to Know Before the Season
Sighting in a Rifle: Tips to Know Before the Season

There’s nothing like the feeling of picking up a brand-new rifle. The excitement to pick out the perfect scope, grab some ammo, and head out to the range sets in immediately once you leave your local dealer. If it’s your first time buying a rifle, that excitement may be mixed with a little bit of hesitation, especially when it comes to sighting in a rifle. Today’s blog will cover some tips to help you learn how to properly sight in your rifle, just in time for the upcoming fall hunting seasons.
Finding Your Right Fit
A rifle that fits you right is a rifle that’s easier to shoot, and ultimately a rifle that’s easier to sight in. Sighting in a rifle that doesn’t fit can be a pain, both figuratively and literally. That’s what makes the Model 110 your perfect pick for this hunting season.
The new line of Model 110 rifles feature easier adjustability than ever before. The Trophy Series of rifles have length of pull adjustment with the new Trophy Stock, using the Quick Set Dial (QSD) to quickly and easily adjust length of pull from 12 ¾" to 13 ¾". When you bump up to Model 110 rifles using the AccuFit V2 system, you gain comb height adjustment in addition to length of pull adjustment. Simply twist the QSD to raise and lower your comb height with up to ¾" of adjustment.
When your length of pull and comb height give you the right fit, your rifle is easier and more natural to shoulder, more comfortable to shoot, and more accurate. Starting with the right fit means starting with a Model 110 that can adjust to fit you better than other factory rifles. 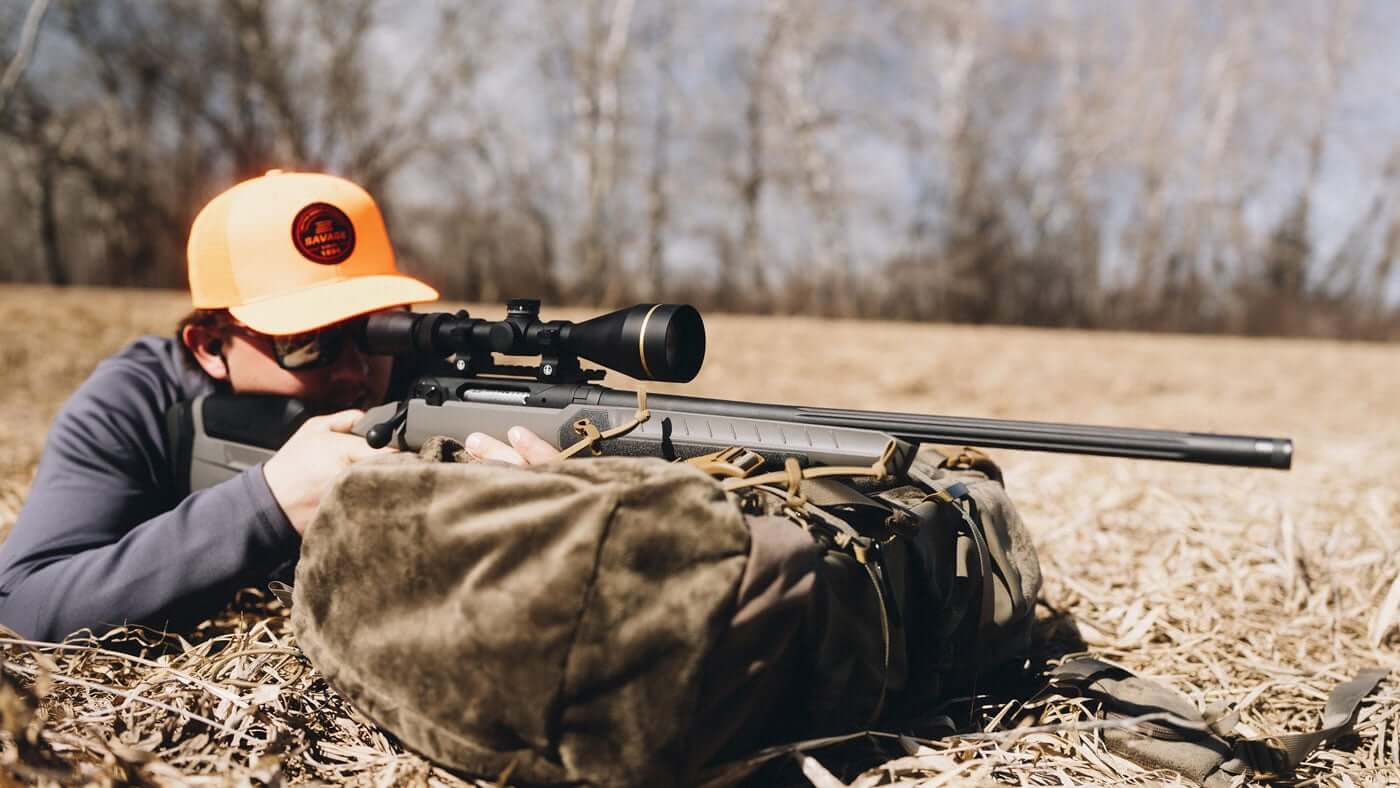
Checking Your Eye Relief
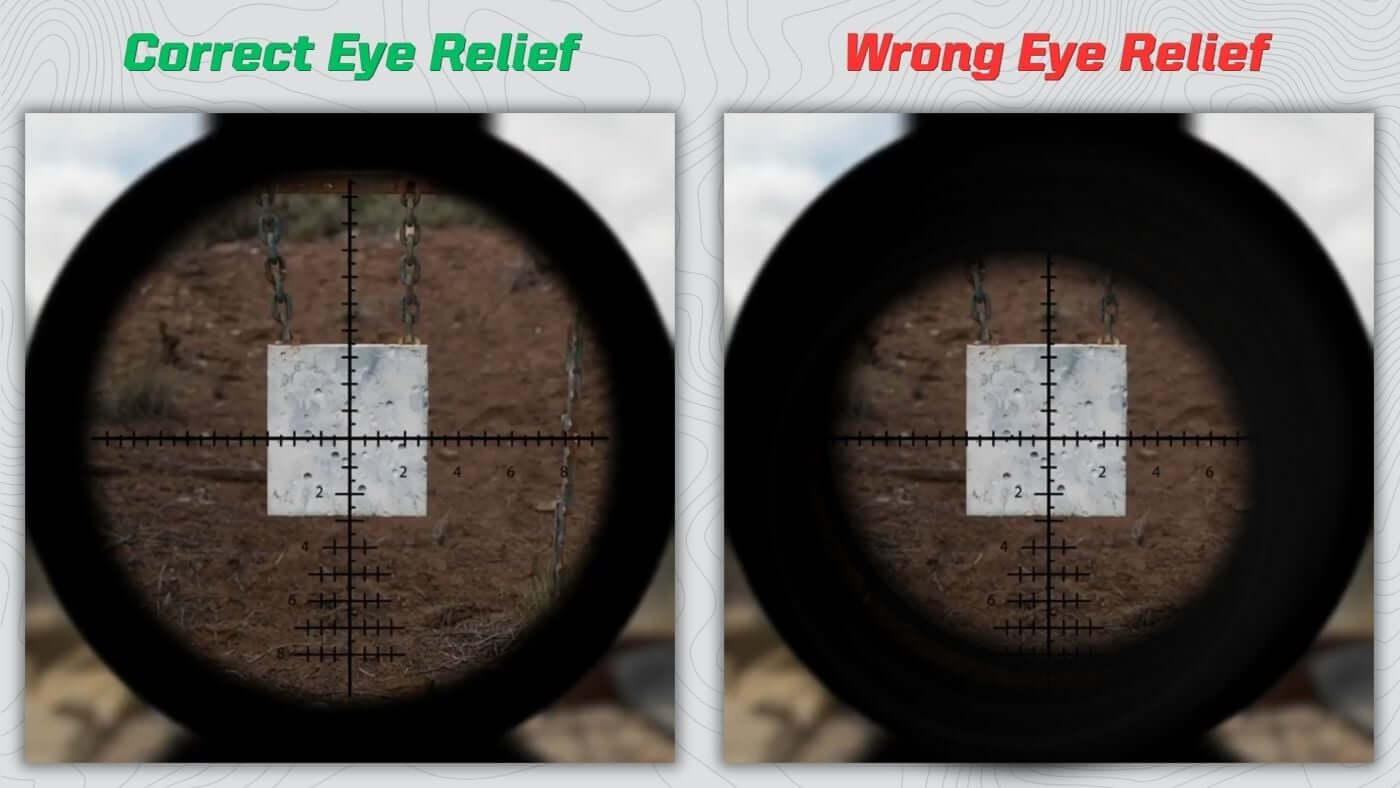
If you’re new to firearms, or sighting in a rifle, then you need to know about eye relief. It refers to the distance between the rear of your scope and your eye. The correct eye relief will allow you to see through the scope clearly and completely, without any black rings or obstruction of your view at any magnification. It allows you to keep your head firmly in place on the stock and not have to go “searching” in the optic for your reticle.
To get the proper eye relief, you need to make sure your scope is in the right position. This is something you should check every time you mount a scope onto a rifle. Here are the steps to make sure you get the correct eye relief.
WARNING – Before working on any firearm, make sure it is unloaded, pointed in a safe direction, and your work area is free of ammunition.
- Place your gun into a solid rest or gun vise and ensure it is level.
- Place and tighten your scope ring bases on your rifle.
- Place the scope in the ring bases and place the top of the rings loosely on top of the scope base.
- Slightly tighten the top of the scope rings while leaving enough room to move the scope within the rings.
- Get behind your rifle and move your scope forward and backward, checking the eye box within the scope. If you have a thick black ring around the edge or can’t see through the optic clearly, move the optic.
- Move your scope forward or backward until you have a clear picture at all magnification levels.
- Verify that the reticle is aligned properly with a scope level or plum line, and tighten your scope rings to the proper torque spec.
Perfecting Your Trigger Pull
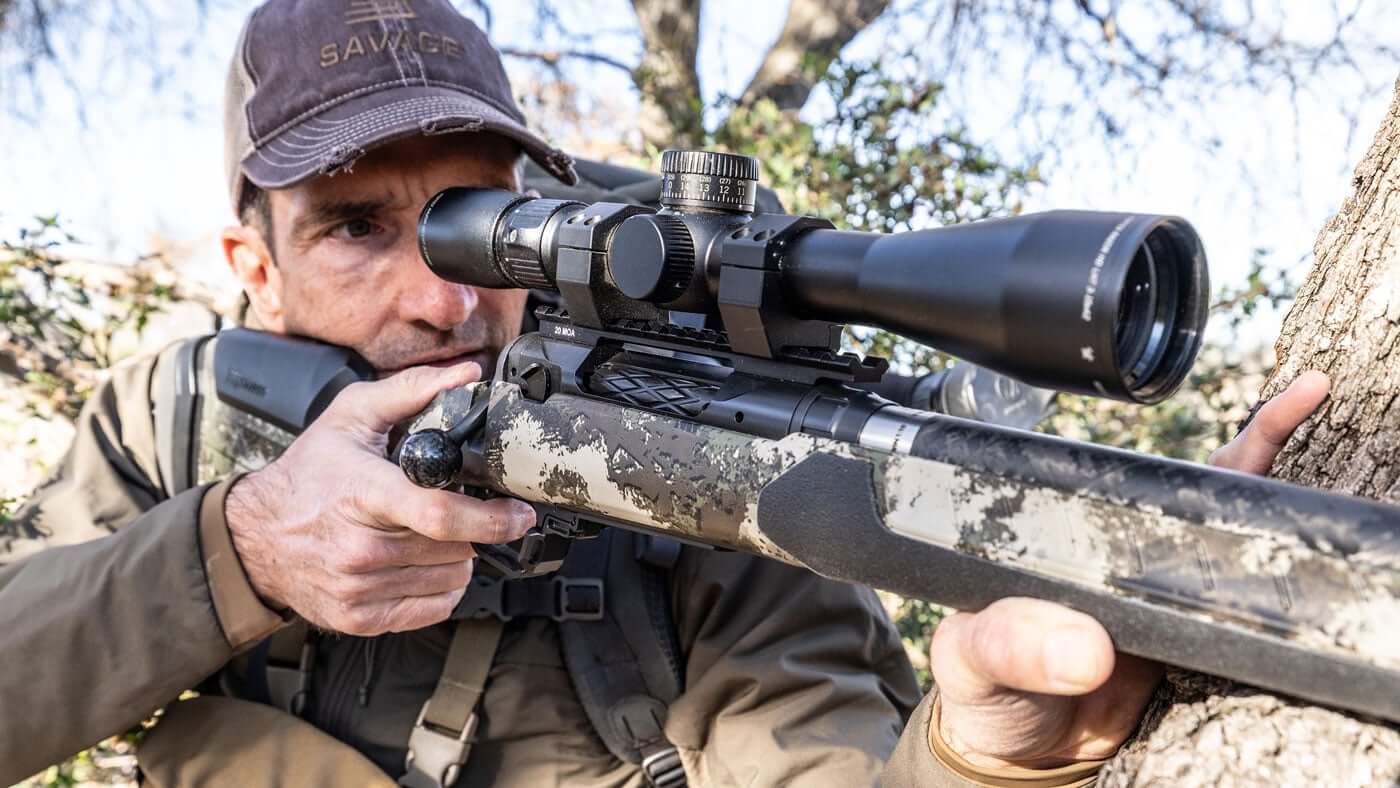
A rifle is only as accurate as the shooter, and the shooter is only as accurate as their technique allows them to be. A good trigger pull is the foundation of sighting in a rifle accurately and making effective shots in the field.
A solid trigger pull starts with structured breathing. Every breath you take moves your body, and your rifle. If your breathing is controlled, then you can time your shot to the point at which your body is most stable. Here’s a good cadence to follow.
- Take a deep breath in, slow and controlled.
- Begin to exhale, pausing about halfway through.
- Squeeze the trigger during the pause.
- Finish your exhale.
Squeezing at the pause in your exhale ensures that you’re taking the shot at the time your body is most stable, helping give you a better and more stable shot. In addition to breathing, you also need to have a solid understanding of the proper technique for your trigger pull. Make sure you are squeezing, not jerking, the trigger, using the center pad of your finger, and apply pressure in an even pull rearward.
The AccuTrigger has been known for helping shooters improve their trigger pulls for over 20 years. It features a center blade that not only acts as a trigger safety, but it also helps reinforce trigger fundamentals by providing a guide into the trigger. The AccuTrigger provides a crisp, clean break that makes effective shots easier. Depending on the model, it is adjustable from 1.5 to 6 pounds and gives a range of options for shooters who like lighter or heavier pulls.
Getting Your Groups Right
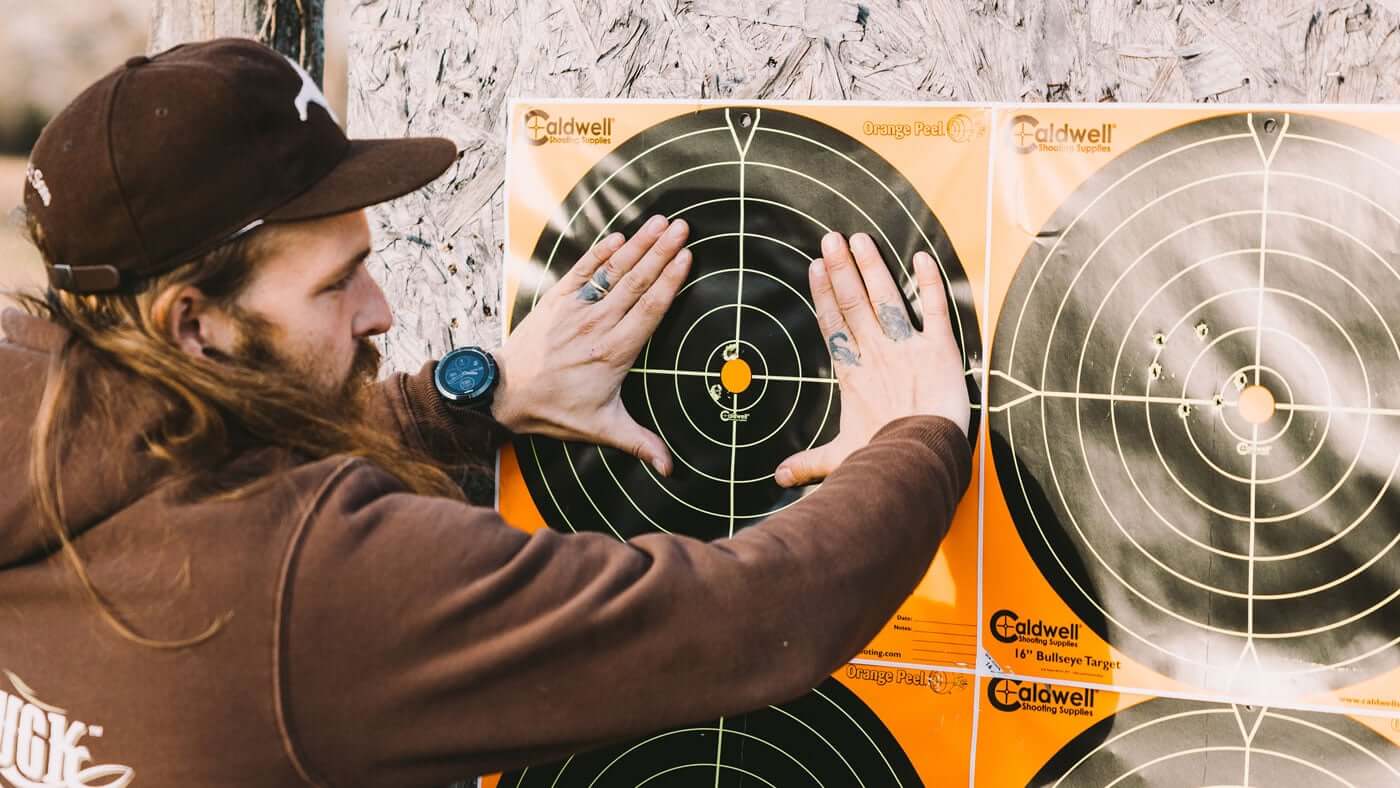
When sighting in a rifle, the three-shot group is the standard. It gives you a look at how your rifle performs with your choice of ammunition based upon a few shots, rather than just one. However, some shooters have begun moving to five shot groups, rather than the traditional three shot group.
Why expand to five shots? For some shooters, a five-shot group gives a better indication of sustained performance of a rifle. A larger sample size gives more opportunity to show the rifle’s accuracy potential or help differentiate the performance of different ammo loadings. There’s no “right” group size when it comes to sighting in your rifle, so whether you prefer three shots or five shots, shoot a group size that you believe will best reflect the performance of your rifle.
Adjusting Your Scope
The most important part of sighting in a rifle is making the right scope adjustments. Two terms you’ll want to know are windage and elevation.
- Windage: The horizontal distance that you measure from your impact point to your aim point. Typically adjusted via a dial on the right side of your scope.
- Elevation: The vertical distance that you measure from your impact point to your aim point. Typically adjusted via a dial on the top of your scope.
Here are the steps you need to know to adjust your scope properly and get your rifle zeroed.
- Choose your desired zero distance. Most shooters commonly choose 100 yards, but you may choose 200 yards if you’re shooting at longer ranges or 50 yards if you’re shooting at shorter ranges.
- Shoot a group at your target, holding the same aim point for every shot.
- Measure the distance from the center of your group to your aiming point. For example, let’s say your group is 2 inches low and 3.5 inches right of your aiming point.
- Adjust your scope reticle to move your point of impact.
- For example, if your group was 2 inches low and 3.5 inches right, you would adjust your scope 2 inches up and 3.5 inches left. This will shift your reticle towards your point of impact.
- For most common hunting scopes, your adjustments will be made in ¼” increments per click. Multiply how many inches off you are in elevation and windage by 4 to get the correct number of clicks to make your adjustment. In this case, it will be 8 clicks up in elevation and 14 clicks left in windage.
- After dialing the correction in your scope, shoot another group to verify that your zero is correct, or make further corrections until you have the correct zero.
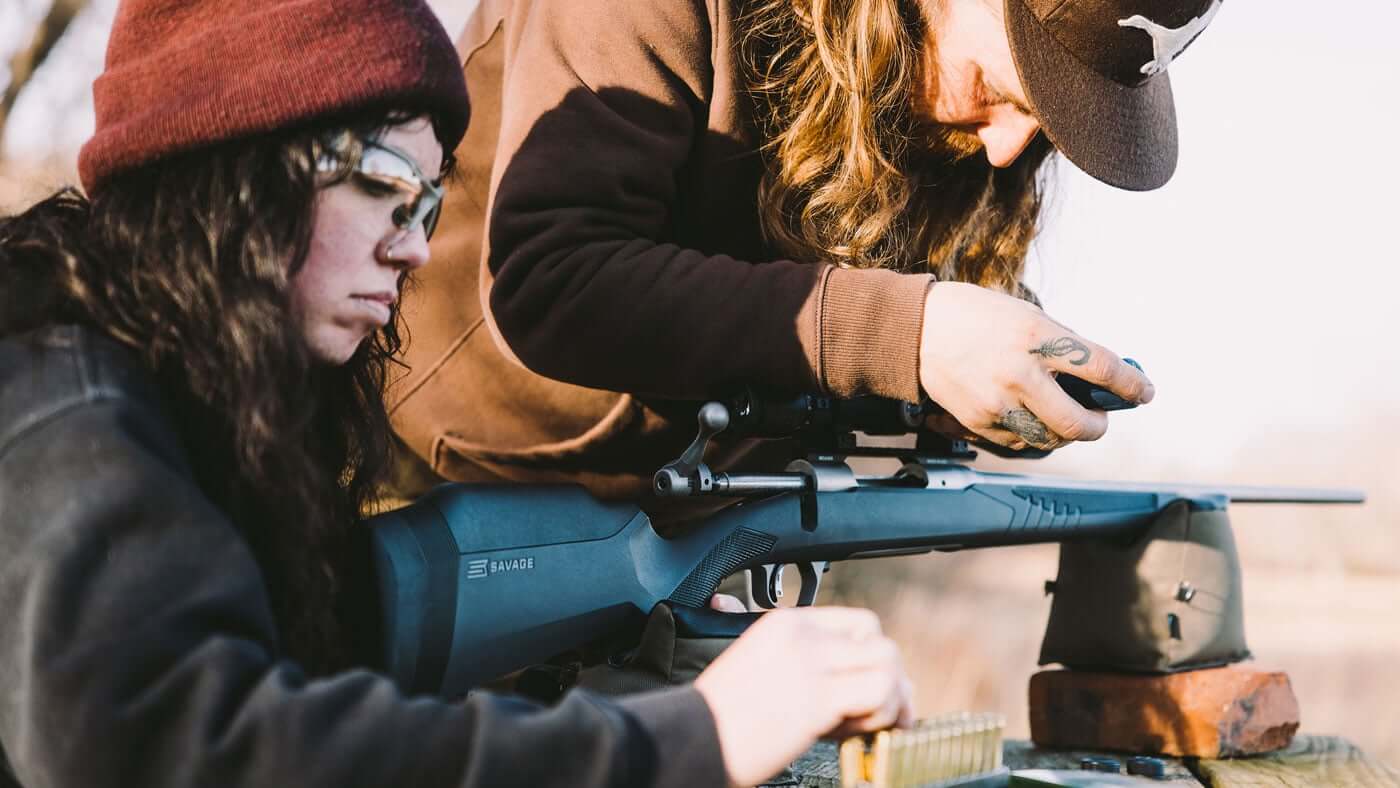
Sighting in a rifle is an important step to take before opening day of the season. A rifle that is properly sighted in and zeroed is more accurate, more predictable, and safer to shoot. If you don’t know where your rifle is shooting, the chances of wounding an animal or hitting an unintended target are much higher. Safer, more responsible hunting starts with sighting in a rifle to verify its zero and know where it is shooting. Plus, it’s a great way to get out to the range to practice your shooting skills and help improve your marksmanship! Don’t wait until the last moment, get out to the range and make sure your rifle is sighted in properly for a successful fall season!